How to prep your bike in two minutes
Essential stuff and a few if-possible tips.
Treated yourself to a new hardtail or a new full suspension bike? Watch the vid and then read this guide to help get the most out of it by setting it up correctly.
No bike will ever be 100% perfect straight out of the box or off the bike shop showroom floor, so here’s everything you need to know to get your new pride and joy on top form from day one.
This will take two minutes. Okay, maybe three. This is the very least you should quickly check over before leaving the house for a mountain bike ride.
Squeeze your brakes a quick squeeze. You don’t want to discover that they’ve gone wrong once you get to the trailhead or, worse still, when you’re halfway down the first descent. If your brake levers go all the wall the handlebar, you need to bleed them.
Check the state of your brake pads. These days most disc brakes have handy little ‘viewing windows’ in the calliper body that allow you to peer in and see how much pad material is left.
Top tip: use the torch on your smartphone for illuminating things to make it easier to see what’s what.
Check your wheel axles are done up properly. Both thru-axles and quick releases. Sometimes they can slowly work loose during rides to various vibration and braking forces etc.
Quickly open and close your wheel axle QR levers to see if they’re done up sufficiently and operate smoothly with no binding or roughness.
In these days of tubeless setups (even the best systems leak) and fatter and fatter tyres, checking your tyre pressure is much more important than it used to be. All tyres will lose a little over a fortnight – at least – and on tyres 2.35in size or bigger a couple of psi here or there will make a significant difference.
Ignore the recommended pressures printed on the sidewalls of the tyres and shoot for 20-25psi front and 25-30psi rear — adjusting upwards by a couple of psi for heavier riders and down if you’re under 75kg.
If the tyres are too hard they won’t deform and hug the ground; too soft and you’ll be more prone to pinch flats and you may even roll the tyre clean off the rim.
Suspension forks, rear shocks and dropper posts all have stanchions and seals. Even if you cleaned your bike after the last ride there may well be dried on dirt on the seals and stanchions. This will cause your suspension or dropper to lose suppleness at best and in some circumstances can end up with dirt getting into the internals and really fouling things up (£££).
A quick once-over with a damp rag – or a rag with some fork-friendly cleaner sprayed on to it – is all it takes. Well worth doing.
There are loads of different lubes out there. Wet or dry is the common debate. Whatever you use, some is better than none. Heck, use olive oil if you have to!
Before you apply the lube though, look at your chain and drivetrain. If it’s black and furry, try to get rid of this messy fur as best as you can before heading out for a ride. Grab an unwanted rag and wrap it around the chain and back-pedal your drivetrain. Careful not to jam your hand in your chainrings or cassette teeth. It hurts.
Apply the lube, back-pedal the drivetrain for twenty seconds or so. Grab a rag, wrap it around the chain, back-pedal the drivetrain a couple of laps. The idea being to remove lube from the outer plates of the chain. It doesn’t need to be there. Lube only really needs to be inside the chain links and rollers. Excess lube on the outer plates will just attract dirt and make your drivetrain rough and worn.
There’s no need to do the following thing before every ride. But they are good to go through if you have a spare few mins (for once) or you haven’t done a proper check-over for ages or you haven’t really tweaked your bike since you bought it.
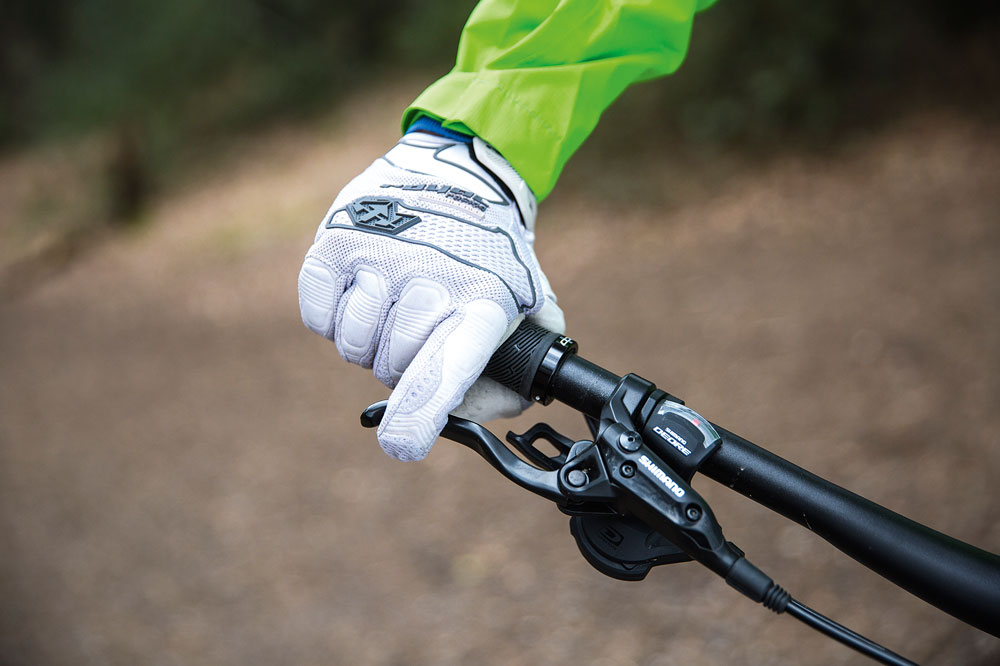
Modern hydraulic disc brakes are so powerful you only need to use one finger to slow down. Loosen the clamps and slide the levers away from the grips until your index finger rests right at the end of the lever blade. This gives you the most leverage and the most secure grip on the handlebar.
Now slide your shifters into a position that makes them accessible, this could even be between the brake and the grip. Your brake levers should be angled in line with your arms in the attack position — don’t rotate them to point straight down.
Optimise your riding position. Firstly, it’s critical you get the saddle height sorted for seated pedalling. As a rule of thumb, your leg should be straight, with your heel on the pedal and the crankarm in line with your extended leg.
This allows for a slight bend in the knee when you place the ball of your foot on the pedal at your maximum saddle height. For technical singletrack climbs, drop your saddle by a centimetre to two to make balancing on the bike much easier.
Slam the saddle all the way down for descending.

Set up your suspension fork first. Don’t get distracted by handlebar lockouts as they aren’t much use off-road. Instead, focus on setting your sag correctly. With an air-sprung fork — common above £500 — start by using the recommendations printed on the leg. RockShox and Manitou have them, but not Suntour. You’ll need a shock pump to do this (around £20). If it has a lockout, check it’s in the open position first.
Now lean against a wall and adopt the attack position — out of the saddle with arms and legs bent. Bounce up and down on the fork and let it settle to the sagged position. The sag is how much the suspension compresses under your weight. Start with 20 to 25 per cent of the fork’s travel — so, if your fork has 100mm of travel, it should compress by 20-25mm. Be sure to set the sag in your full riding kit, with backpack and water included.
Now repeat the above with your rear shock. Read our How to set up mountain bike suspension feature for more info.
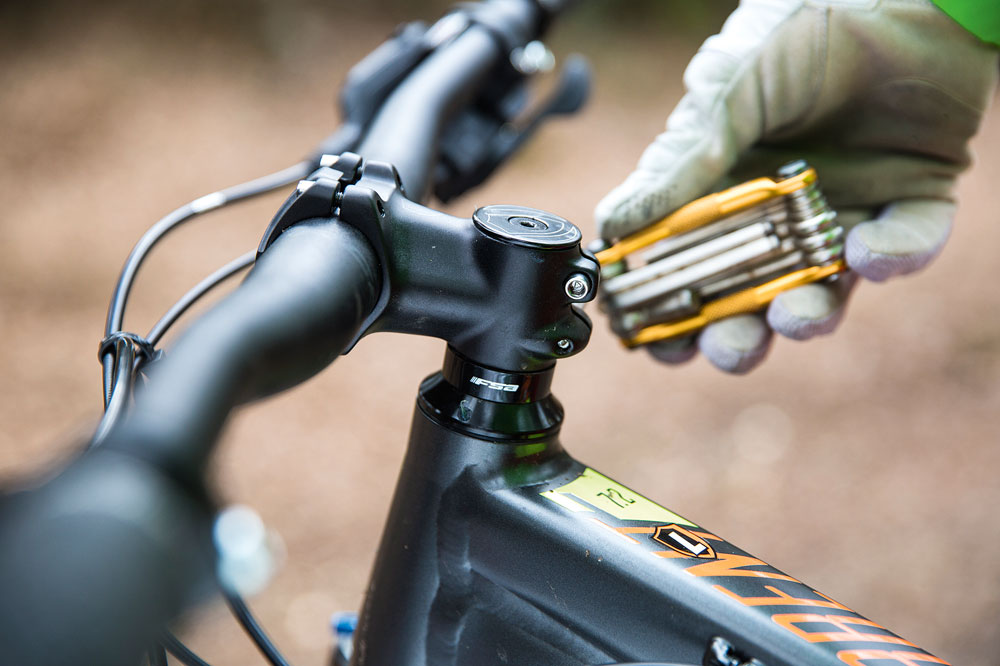
Finally, adjust your stem height. Raising your stem will give you more confidence on the descents, by making it much easier to shift your weight rearward. Too high, however, and you won’t have enough weight on the front tyre for grip on flat corners.
It’s worth noting that stem height is closely related to fork set-up, as a combination of both will determine the height of the handlebar.