How to ride technical climbs
Nobody likes walking up hills
Nobody likes walking up hills. Not only do you miss out on the satisfaction of making it to the top of a climb, but you also have to endure a ribbing at the hands of your mates.
You’re most likely to have to get off and push on technical climbs. If your body position or technique is not up to scratch you will grind to a halt and there’s not much chance of you getting started again.
In the above video we’ve enlisted the help of cross country racer Kenta Gallagher to give his top tips on technical climbing in the above video.
And once you’ve watched the video, read on to get sage advice from Dirt School’s Andy Barlow…

Having built all of his momentum up on the easier run in, here Andy backs off and gives his bike room to move underneath him by standing up.
Love it or hate it, climbing hills is part of mountain biking. Luckily we live in an era of lightweight bikes with efficient suspension designs and wide-range drivetrains to help ease the pain, but there’s also plenty you can do as a rider to improve your efficiency.
As such, the way you attack a climb, and the energy that you use to overcome an obstacle, can make a big difference to how fresh you feel for the next descent.
This time we’re going to look at how best to deploy your energy, how to improve your seated position on the bike, and how practising wheelies on long, boring fire roads could make the time pass much faster as well as allowing you to clear the harder bits with ease.
One of the biggest mistakes that people make on a ride is that they set off way too fast. We’ve all been there. You turn up with fresh legs wanting to smash the trails, but two hours later you’re limping back to the car out of food with an empty water bottle, feeling burst.
If you’ve ever had the chance to ride with a power meter, one of the first things you notice is how easy it is to push big numbers at the start of a ride, and how hard it is to push those same numbers towards the end of a ride. What happens is, as your body uses up its energy, it has to work harder to maintain the same output. 350 watts at the start of a ride might see your heart rate sitting at 165bpm, but try producing the same power after four hours in the saddle and your heart will be beating closer to 180!
For most of us, this means that we feel massively strong at the start of a ride, and absolutely knackered towards the end. Even if you try to pace yourself, the little ramps in a climb, or the steeper obstacles, will see huge spikes in your output, while your breath and heart rate will forever be playing catch-up with those efforts, although you’ll barely notice it happening.
The trick is to really save your energy for where you need it. A brilliant piece of advice I once heard from a cross-country racer was: “Don’t go looking for the pain. It’ll find you soon enough”.
This is basically a good mantra for saving your efforts for when they’re needed. There are plenty of places on the trail where you’re going to have to put in those powerful pedal strokes. Riding out of the car park isn’t one of them.
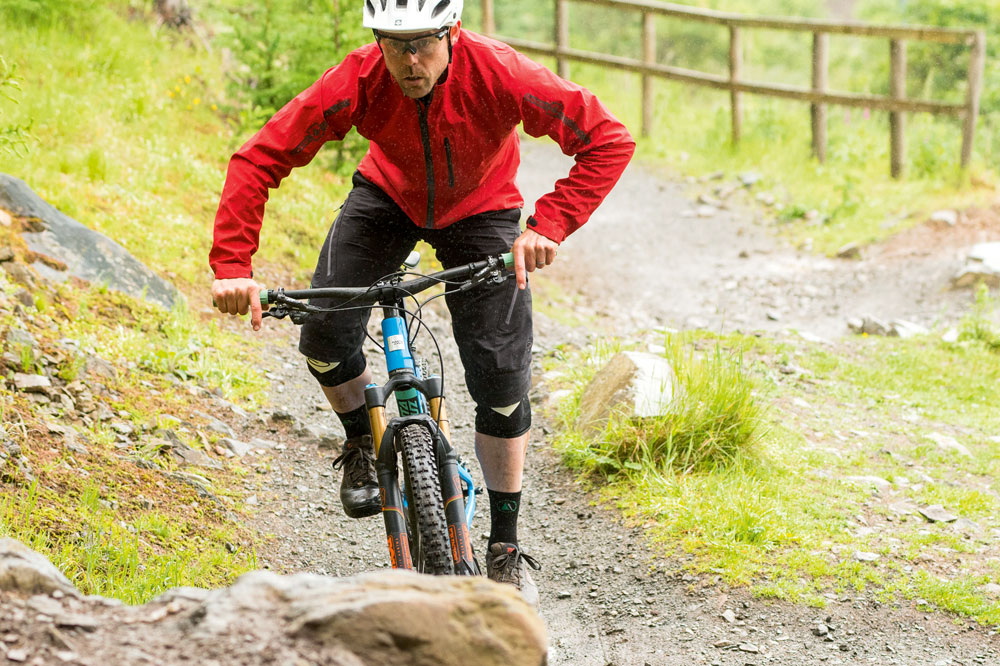
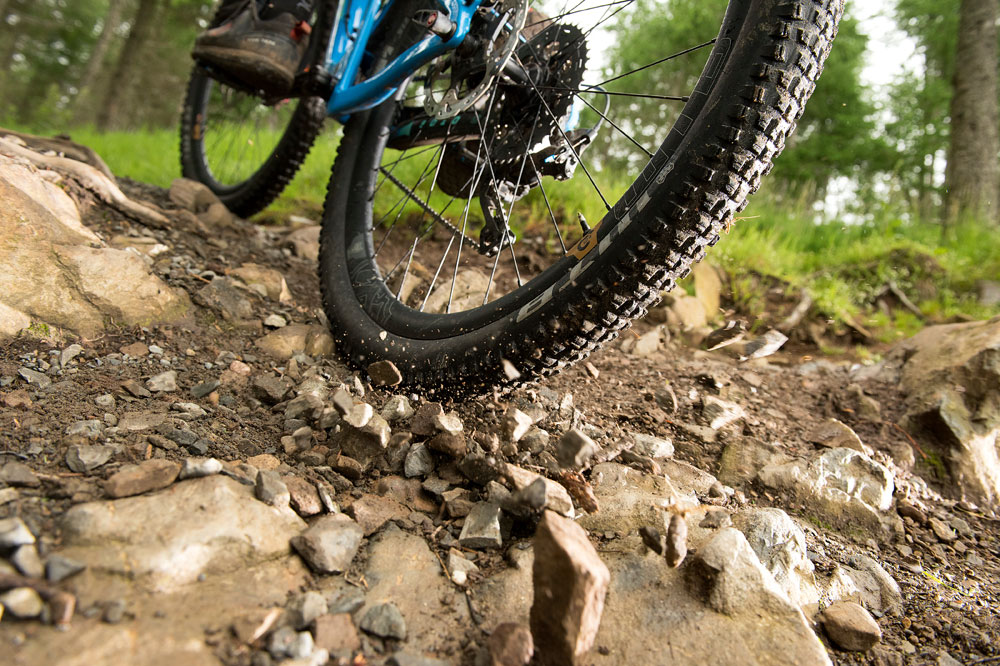
Look how hard Andy is pedalling on the smooth section of trail. This way he can build momentum quickly where it’s easy to do so and back off where the traction becomes inconsistent
These have the potential to really ruin a climb, by simply interrupting your flow, or worse still, forcing you to put a foot down. The best way to deal with them is to change your mindset. If you were to look at a line of three or four steps on a downhill, then you wouldn’t really have any fear of stalling because gravity will always help your momentum.
Reverse the feature and it becomes awkward because the steps slow you down. The trick is to realise that it’s not the obstacle that’s the problem, it’s the lack of momentum. If you keep moving forward in all the places where it’s possible to do so, then you should be able to maintain sufficient momentum to coast over the tricky bits. Pedal hard where it’s easy and back off where it isn’t.
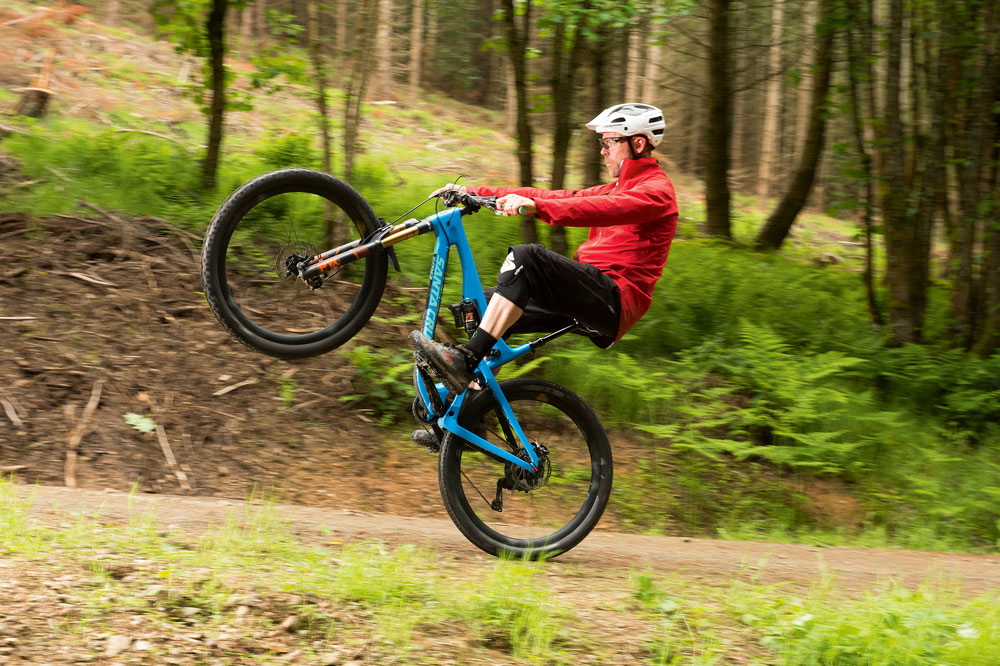
Staying seated and straightening your arms means that you can use your legs to accelerate your front wheel off the ground. Notice how Andy is sitting back and counterbalancing his front end by leaning back
Being able to wheelie up steps in a climb is a big advantage. You want to be able to lift your front wheel without having to pull on the bars. To do this you have to use the acceleration from pushing your pedals harder to unweight the front end. You’ll be able to gain momentum through moving forward as well as lifting your front wheel over the obstacle. Just make sure that you stand up as soon as it’s cleared the step so that you can unweight the rear wheel with ease.
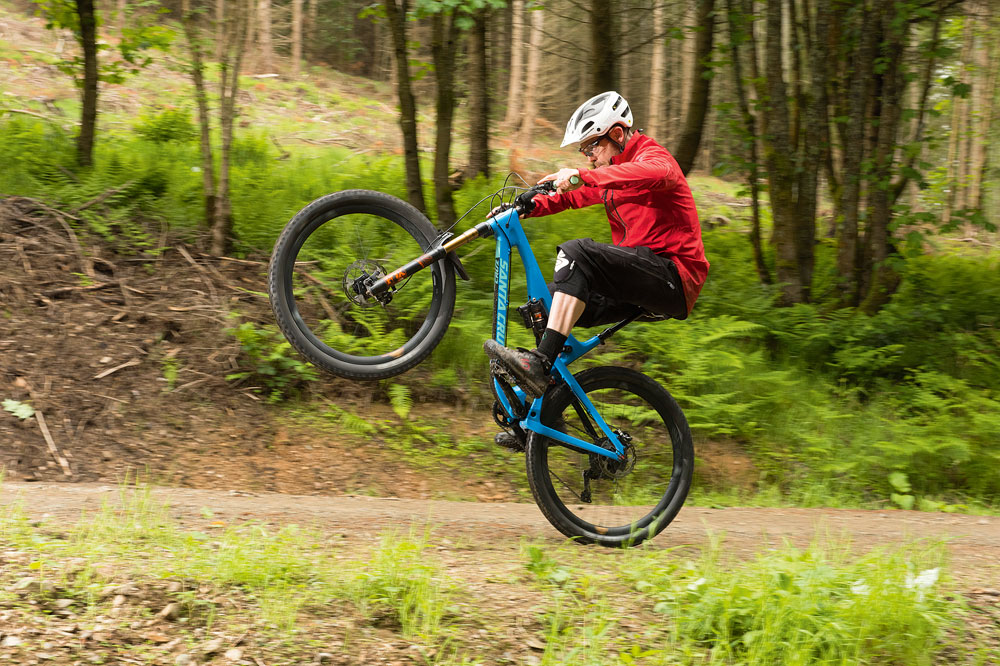
Pulling on the bars only makes it harder. Your weight will remain forward and the wheelie will feel heavy
Start by trying to do a wheelie on a fire-road climb first. This will mean that you can practise the acceleration to lift the wheel without the stress of having to time it right for the step or root. Make sure you’re in a gear that you can genuinely accelerate. Too low and you’ll just spin the pedals without really going any faster. You may also want to cover the rear brake for this one.
Start with your elbows bent and your bodyweight forward and straighten your arms to rock your body backwards while at the same time accelerating hard with your legs. You should be seated through all of this so that as your front wheel rises it’s your bodyweight that’s counterbalancing the front end NOT an out-of-the- saddle pull on the bars.
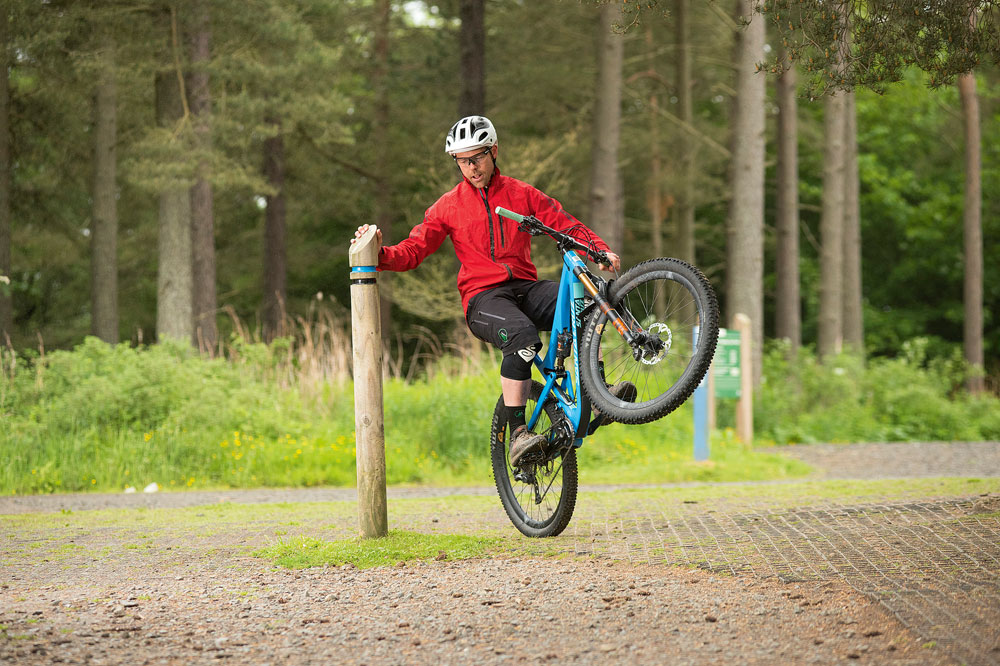
Notice how Andy uses the pole as the central point so that he can spin around it in circles while maintaining contact with it
Once you have the basics of the wheelie, the one-handed wheelie is actually a lot easier than you think. The easiest way to practise this is to find a pole like a goal post or a lamppost.
Ride up to it slowly and take whichever hand is on your front brake off the bars and hold on to the pole. With a little practice you should be able to accelerate your front wheel off the ground and find the balancing point for the wheelie while still holding on to the pole.
Your aim here is to be able to wheelie round the pole and find the balancing point by accelerating past it, then braking so that it comes back again. Keep your finger covering the rear brake lever, so that if it all goes wrong you can always just apply the rear brake and step off your bike. The hand holding the pole will allow you a fairly safe dismount.
It’s no secret that mountain bikers pedal in better circles than our roadie pals. After all we have gravel, dirt, mud and slippery roots to contend with.
The secret to mastering the available traction is to try and keep your pedal strokes even and smooth. If you’re out of the saddle stomping on the pedals then you’re going to spin-up now and again, but if you’re seated and concentrating on turning smooth circles, then as you feel the slightest slippage at the rear wheel, you can back off and let the tyre grip again.
It’s a very subtle and gentle skill, but once you can gauge your traction by how much power you’re putting through the cranks you’ll be able to keep your momentum going forwards in some incredibly technical situations.
There is much debate about what the perfect foot position should be on a pedal, but more and more people are now aligning with the idea of a more central foot position, or the mid-sole cleat.
What this basically means, is that your foot stands much further forward on the pedal. If you regularly use flat pedals then you may already be doing this, but if you’ve been clipped in for years, and you’ve always set your cleats up the same way for many years, then you might be a little behind the times.
>>> Best mountain bike clipless pedals
Even three-times Tour de France winner, Chris Froome, is now running his cleat mid-sole.
If you’re going to move your feet further forward on the pedal then your saddle will have to move further forward as well. This is obviously going to affect the distance you have to reach for your bars, but with bikes getting longer for stability, this might not actually be a bad thing. Anything that moves your weight a bit further forward is probably going to be a step in the right direction.
Your saddle height will make a big difference here as well. A general rule is that if you’re bouncing up and down in the saddle, then it’s too low, and if your hips are dropping to reach the bottom of your pedal stroke then it’s too high. Again, a much more modern take on this is that you want to err towards the lower side of what feels comfortable.
>>> The best mountain bike saddles
Your knees should still have a very subtle bend even when they’re at the bottom of the pedal stroke. Seeking the advice of a qualified bike-fit technician will give you a much better shape to work from and mean that you end up with a much more efficient position for the hours that you spend in the saddle.
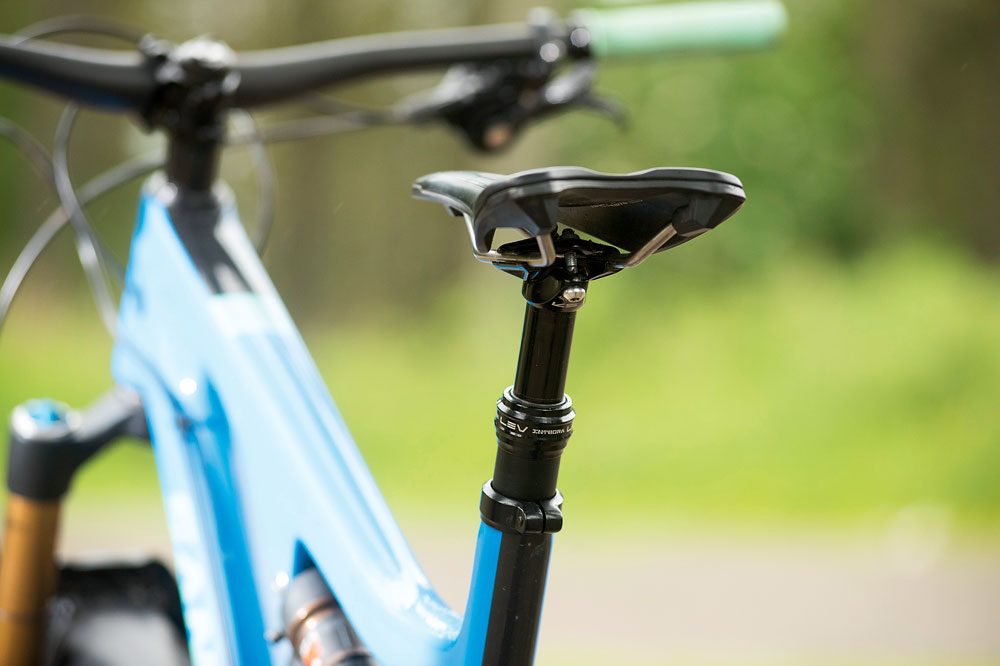
Dropper posts have changed the way we ride for the better
Dropper posts have been a complete game-changer for mountain bikers. The convenience of being able to get your saddle out of the way for pretty much anything that takes your fancy, means that your bike can transform from a comfortable climber to a downhill bike at the push of a button.
A few years ago, riders would have had to make some kind of trade-off on the trails; often deciding to either run their saddle a bit lower so they could handle the jumps and bumps, or the right height for climbing at the expense of more technical trail features. This compromise is now a thing of the past, because with a modern dropper you can set up a perfect climbing position that you can return to every time you put your seat back up.
>>> The best mountain bike dropper posts
If you don’t already own a dropper post, you’re probably wondering what all the fuss is about. But trust us, this is the same resistance that people put up when suspension forks came along. Or disc brakes for that matter… or full-suspension bikes! As soon as you’ve tried one you’ll wonder how you ever managed without, and every time it’s off your bike for a service, you’ll be looking for the button and missing it a hundred times a ride.