How to set up your mountain bike cockpit for ultimate control

How you set up your handlebars, shifters, brake levers and grips can have a huge impact on how your mountain bike rides and feels, so here’s everything you need to know about getting it right.
Control, precision, confidence and comfort – the cockpit on a mountain bike needs to offer all of these things, and even slight changes can mean the difference between feeling like a hero on the trail or feeling like a skittish baby deer. How you set up your handlebars, how you place your gear shifters and brake levers, and even the type of grips you use can all have an impact. Happily, we’ve got you covered with expert advice on exactly how to set things up.
Handlebar and stem set-up
Your cockpit set-up gives lots of options for tuning your weight distribution and therefore the dynamic interaction between you and your bike. The best way to work out what you need to change is to think about what’s happening with your bike and your body as you ride, then make adjustments and see what impact that has.
Front end washing out on flat turns?
If you find your front wheel losing traction and slipping or ‘washing out’ on flat turns, it’s likely that you’re struggling to load the front end; you’ll want to move your weight balance forward, and you have several options with the cockpit set up that could help.

Firstly you could lower the stem on the steerer tube by taking a headset spacer from under the stem and putting it above. Secondly you could rotate the handlebars forward. Just a few degrees could be enough to make the difference.
Both of these options are free, but if your stem is already slammed or you don’t like moving your bars, then you could fit a longer stem, or buy a pair of grips that have an adjustable angle, such as Ergon’s GE1.
Feel like you’re getting pitched forwards on steep descents?
If you want to move your weight rearwards – say, you’re riding steep descents, or want to make the front wheel easier to lift – raising the stem, rotating the bars backwards, or fitting a shorter stem are all good options.

Most handlebars and stems will have marks on them to make it easy to rotate them by a set amount
That’s assuming your fork isn’t too soft and your damping is in the right zone, so make sure you check our ultimate suspension set up guide first.
Change your stem to help adjust reach
Use your stem height to play with your reach as well. Dropping your stem will increase your bike’s effective reach, while fitting a higher rise bar will get your hands back to their original height. Conversely, raising the stem and running a low-rise bar will keep your hands at the same height but reduce your reach.
What’s the best handlebar width?
Bar width can also have a big impact on control, but is also a question of personal preference, rider size and where you ride. For example, if you live in the Tweed Valley in Scotland and ride the Golfie trails, chances are you’ll run narrower than average width bars (750-760mm) or be missing a couple of pinky fingers, as these trails tend to be quite tight between the trees. If you only ride huge jumps at a bike park, then 800mm bars will be fine.

Essentially, the wider your bars, the finer control you’ll have over steering. But go too wide, and a good body position is harder to hold as your arms are more splayed out, and you’re more likely to hit anything to the side of the trail. Too narrow, and steering can feel twitchy.
Smaller riders may find narrower bars suit them better, while taller riders may get on better with wide bars.
Most handlebars come in 800mm width, to allow you to trim them down to the right size for you. Ideally, pop to a shop to get this done as they’ve got the right tools, particularly if you’ve got carbon handlebars.
If you’re going to experiment, cut off a little at a time and see how that feels, rather than going much shorter immediately. Remember; you can always cut down a bar, but you can never make it wider again. Handlebar grips will usually add another 10mm to your bar width in total, so take that into consideration when trimming.
What stem length should I use?
Stems also play a big part in bike handling, and generally speaking, shorter is better. Unlike road cycling or the old days of mountain biking when stems might be a whopping 90mm, these days they tend to top out at 70mm, and we’d generally recommend going for one around 40mm or 50mm.
How to position brake levers
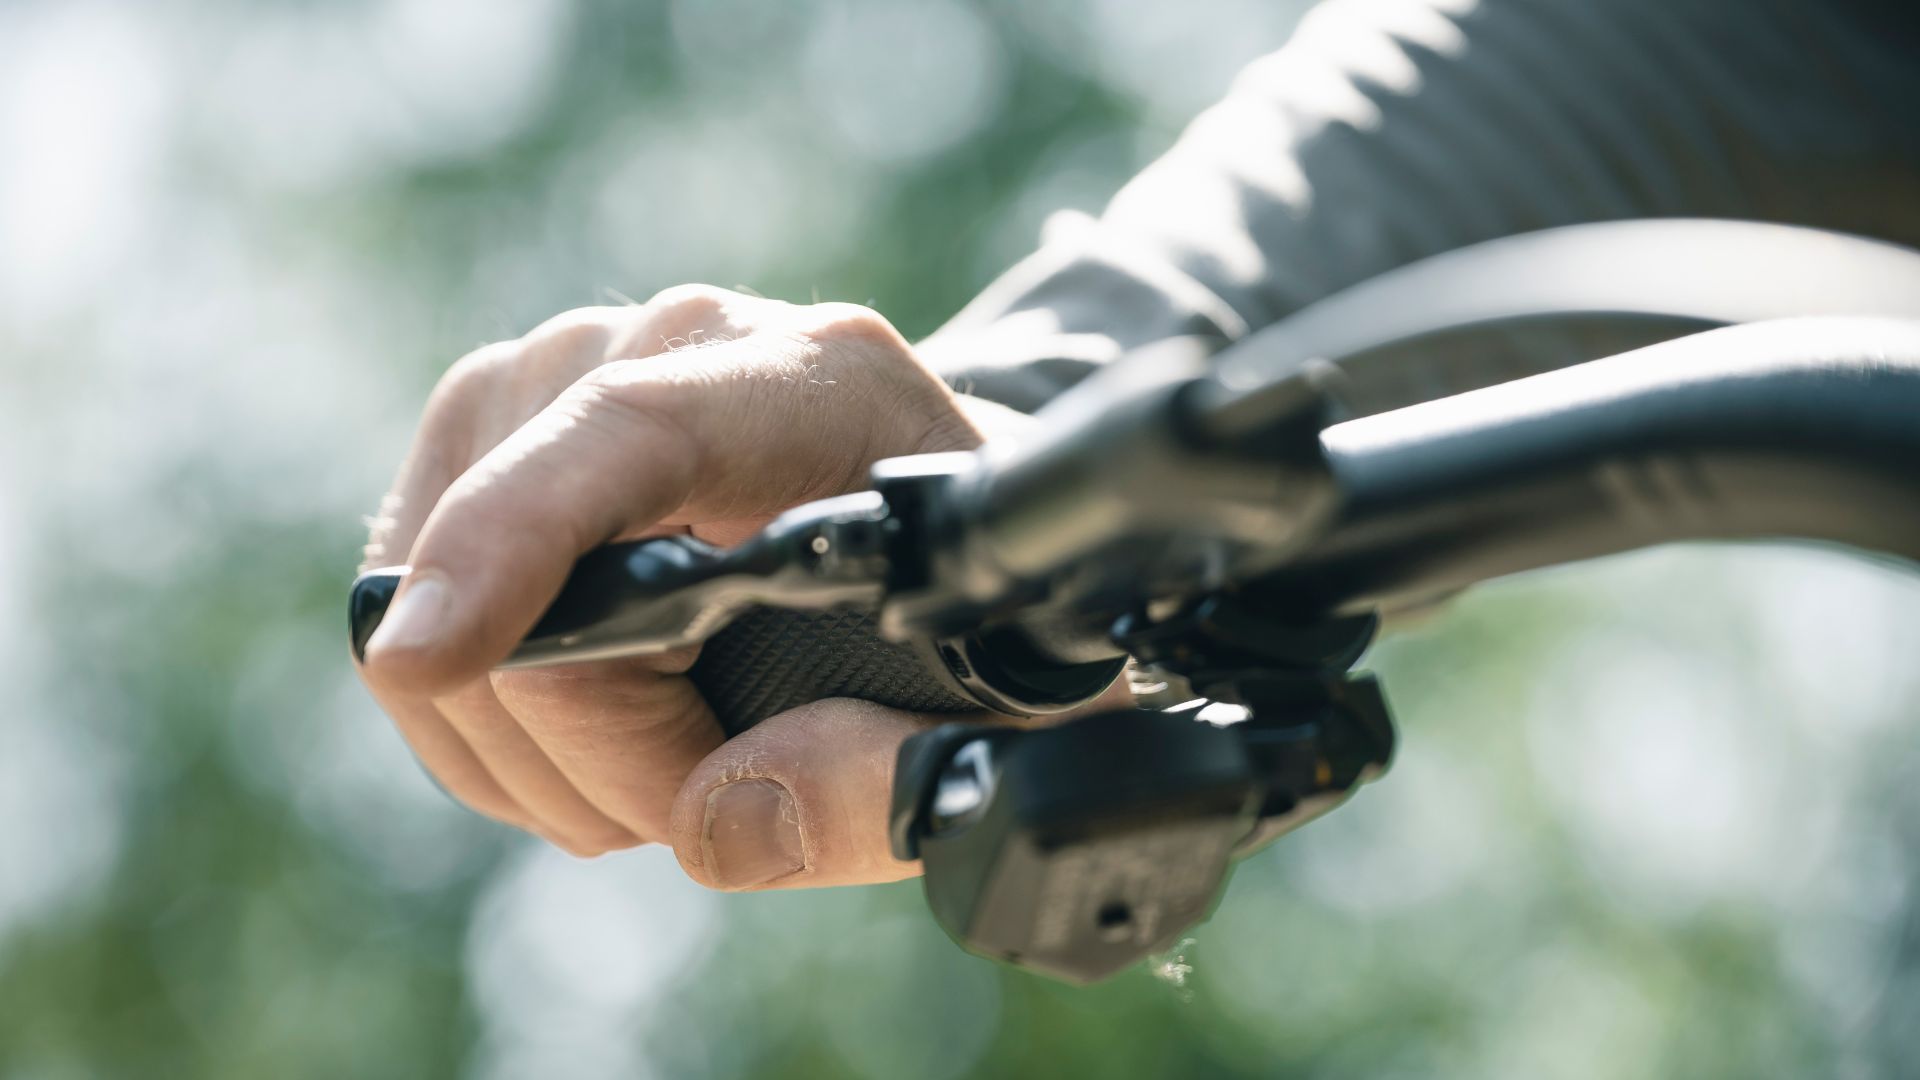
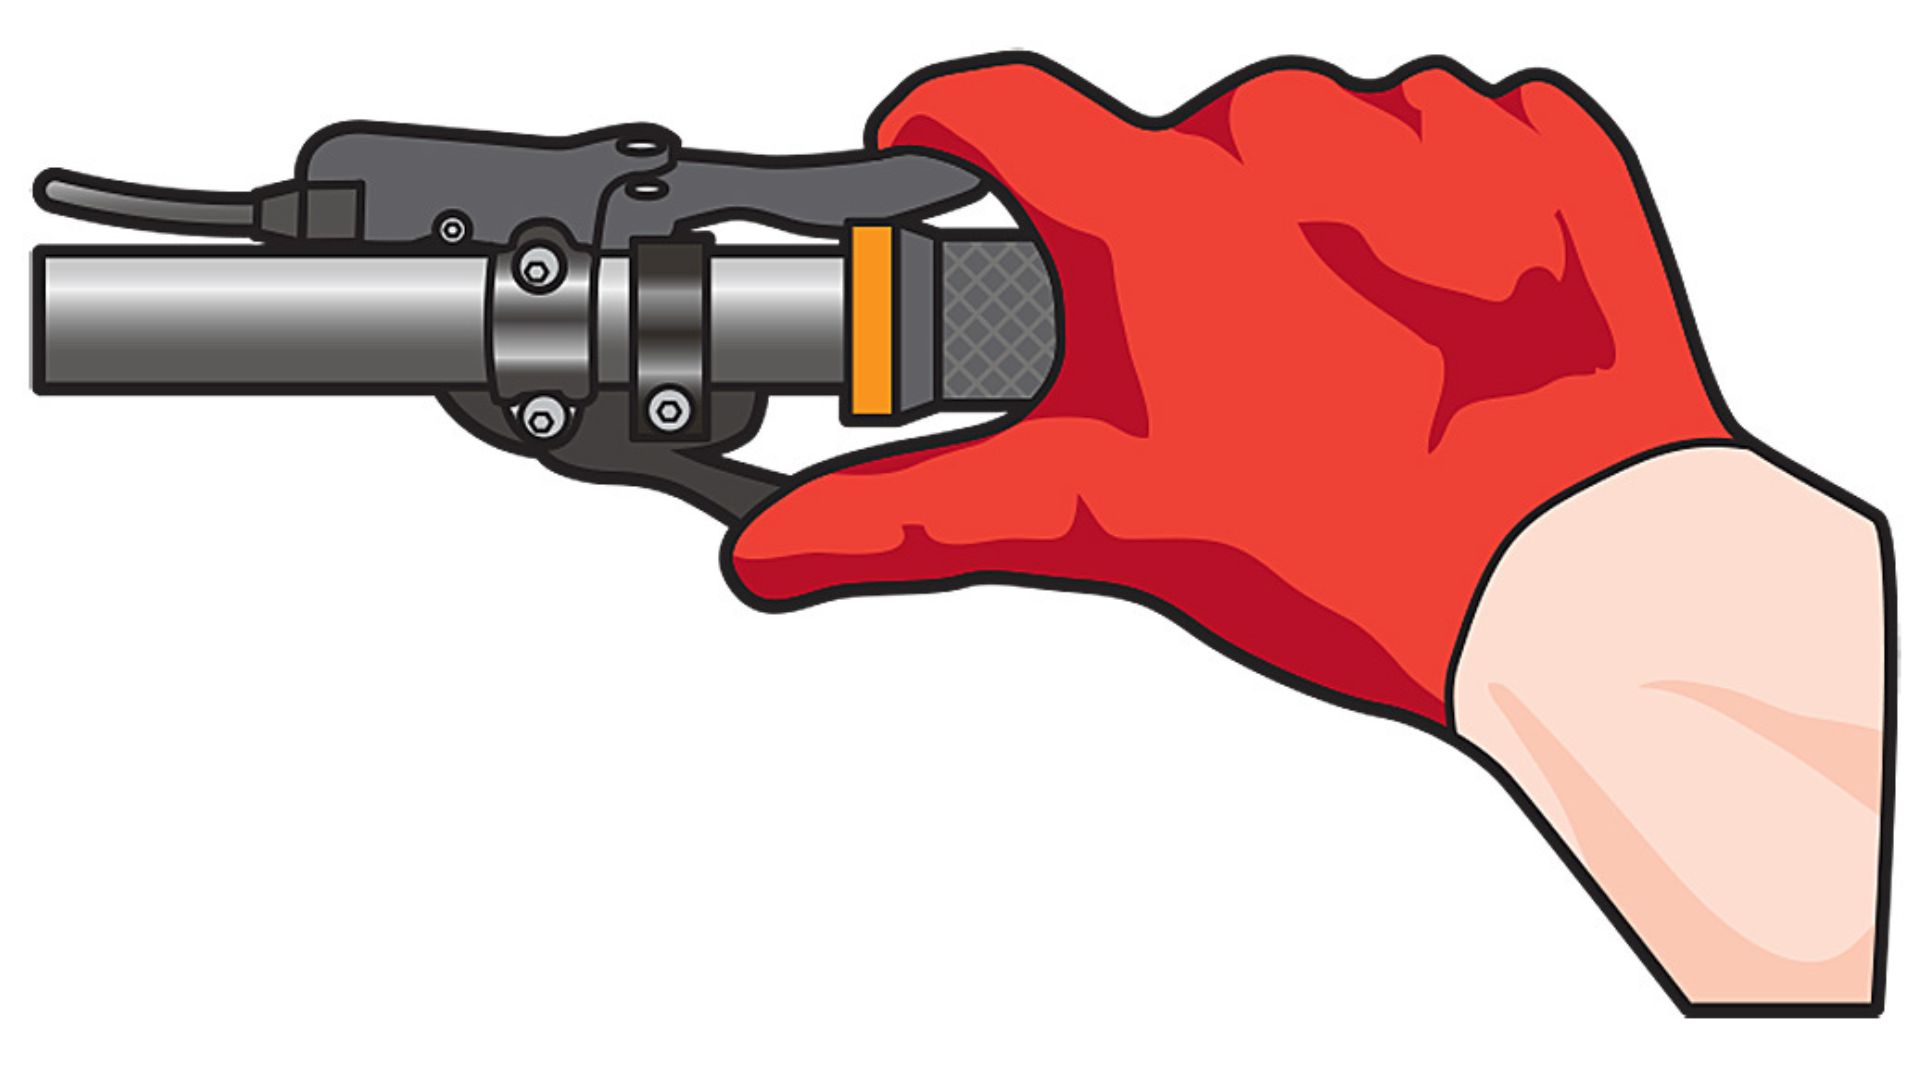
Modern disc brakes are powerful enough for one-finger braking and need to be positioned as such, with the blade close enough to reach/rest without stretching, leaving the other three fingers and thumb free for a stronger grip on the bars.

Move your levers inwards to the point where your index finger makes the most of mechanical leverage near the lever tip.

Also, tilt blades into the three o’clock to five o’clock window (looking from the drive side) to get the angle right — too low requires a ‘claw-like’ grab to brake, which reduces wrist stability. If this feels too high, remember the levers will be angled further forward as the bike points downhill.
It’s worth bringing out a tool on the trail once you’ve adjusted them just in case you need to tweak the position further.
How to position your gear shifter
Your gear shifters should be easy to flick or click from your standard riding position, meaning that you shouldn’t have to move your hand in order to shift gear. You should be able to reach them with your thumb or finger with a slight stretch, so they’re easy to reach, but you don’t catch them while you’re riding.
Depending on the brand, they can be positioned on one or the other side of the brake lever attachment on the handlebar, or combined mounts are being increasingly used which makes getting the position for both easier.
Since most mountain bike groupsets are 1x systems now, which means only one control, it can be positioned on whatever side you prefer although generally the right hand side is the most popular, leaving space on the left side to fit a remote control for a mountain bike dropper seatpost.
Fit some comfortable grips
Your hands will spend a lot of time holding on to the bars, and while certain handlebar designs and materials offer damping for control and comfort, a whole lot of this comes via the handlebar grips.
Rubber grips which slide on each end of the handlebars, grips are your contact points for direction control, so you don’t want them to feel vague or uncomfortable.

Too fat, thin or uncomfortable, and your hands and arms get tired. Choose a size that lets your hand close easily around it with your fingertips just touching the palm.
Secure and non-twisting is essential for safety, but also to feed back information from the wheels to your brain.
Silicone grips can be more comfortable and damped, as the padding extends through to the handlebar rather than ‘floating’ on plastic tubes inside lock-on models.
Bulky locking collars on the outer edges can also put pressure on the outside of the palms on extended descents.
Tidy up your cables
Keep cables away from the frame, if possible; if not, ensure it’s properly shielded from abrasion in rub spots with a frame protection sticker or something like Invisiframe.
Try small plastic widgets to hold the cables neatly together, and when replacing cables, ensure they aren’t too long.
Looking for a new bike? If you’re looking for the best mountain bike, we’ve got options to suit every preference and budget, including the best electric mountain bikes and best budget electric mountain bike.