How to remove a bottom bracket (VIDEO)

Back in the days before suspension and disc brakes, the bottom bracket and threaded headset were among the most feared components for home mechanics. The dawn of the threadless headset simplified headset servicing for ever, and nowadays it’s easier to remove a bottom bracket on a mountain bike than ever before.
We’ve seen bike manufacturers switch between press-fit and conventional BBs during subsequent model years, but on most mountain bikes the cups are still threaded into the frame. Shimano’s system is by far the best in terms of set-up and simplicity, but it’s definitely worth up-speccing for a big increase in performance and reliability. An extra tenner on the price of an SLX bottom bracket gets you XTR, and in our experience this has a significantly longer lifespan.
Nowadays, external bottom bracket replacement is a fairly simple task, very similar across all manufacturers — just make sure you check specific instructions regarding the configuration of spacers. You’ll need to measure your frame’s shell — it will be either 68mm or 73mm (on all but downhill frames). It should be simple to work out where and how any spacers need to be installed.
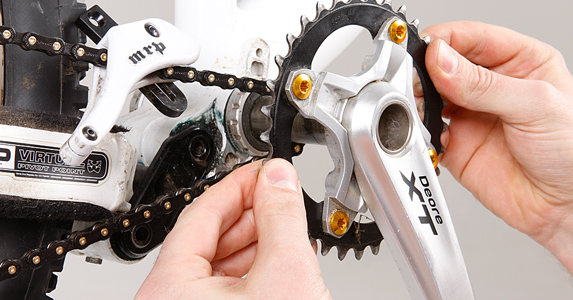
Watch this video to learn how to remove and replace an external bottom bracket, and also to remove and install a Shimano chainset.
For more information on how to remove a bottom bracket and fit a new BB, see the July 2013 issue of MBR, in the shops May 29. And for lots more hints and tips on DIY mountain bike maintenance and upgrading, including video tutorials, just click here.