Dirt School's Andy Barlow shows you how to exploit those little islands of smooth traction that boost your stability and confidence

When you look at a technical trail, it’s often easy to become overwhelmed by the features and obstacles in your path. Your eyes are drawn straight to all the things that you don’t want to hit; trees, slippery roots, stumps, holes, loose rocks, exposed drops… the list is endless.
However, there are always patches of ground between all of these obstacles that are going to allow you to regain control.
>>> Learn how to go with the flow when cornering
Look for helpful features not obstacles
The trick is to deliberately look for the features that are going to help you, rather than hinder you, and to consistently stay in a shape that allows you to push for traction as soon as you need it.
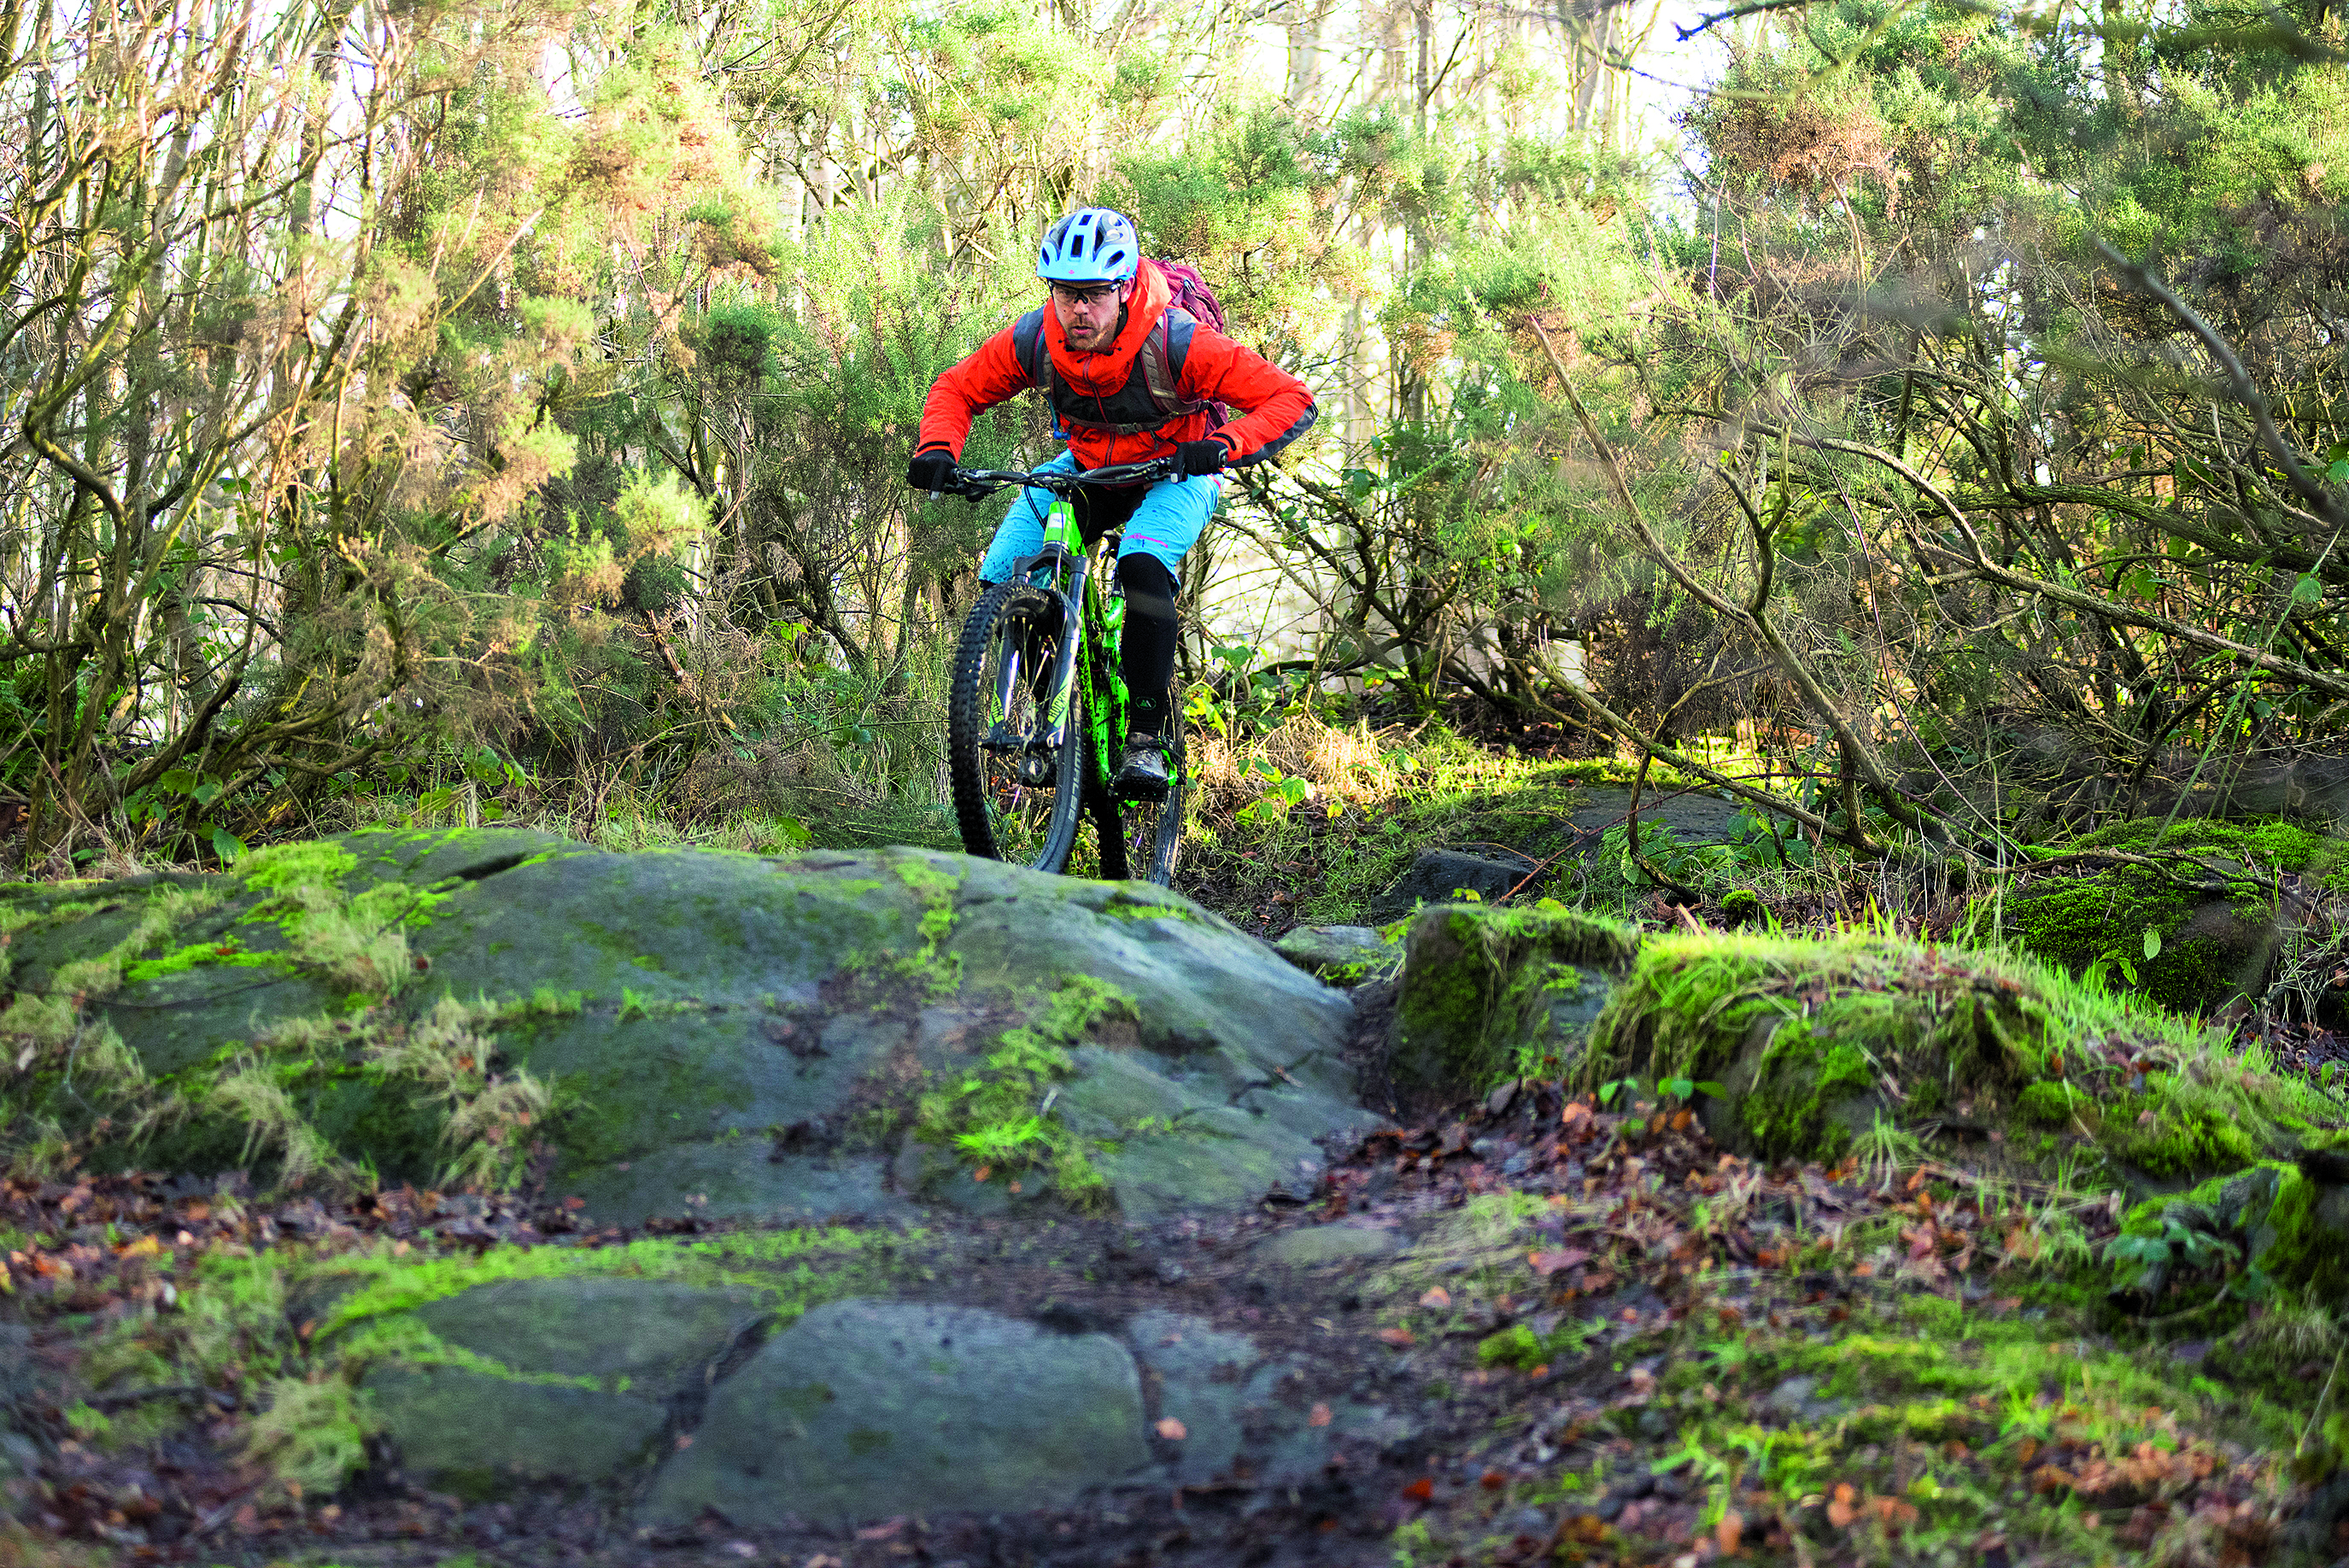
By staying low a rider can store potential energy, meaning that they can push for traction every time they see a grippy zone.
If you link together all the grip points, it doesn’t actually matter if you get a little out of control in-between, because you’ll get that traction back when you reach the next grip zone.
>>> How to ride a modern trail bike
Join the dots
What you’re trying to do here is link all the grip points together by pushing hard to take off, going light over the rough stuff, then landing on something smooth on the other side.
You’re basically bouncing down the trail. You don’t even have to hop that high because, should your wheels hit something on the ground, they’ll be so light that it won’t make any difference to their traction or alignment.
Just make sure that you’re heavy on all the grip points and you’ll be able to link all the smooth bits together.
>>> Here’s how to rail flat corners with confidence and speed

Before, during and after
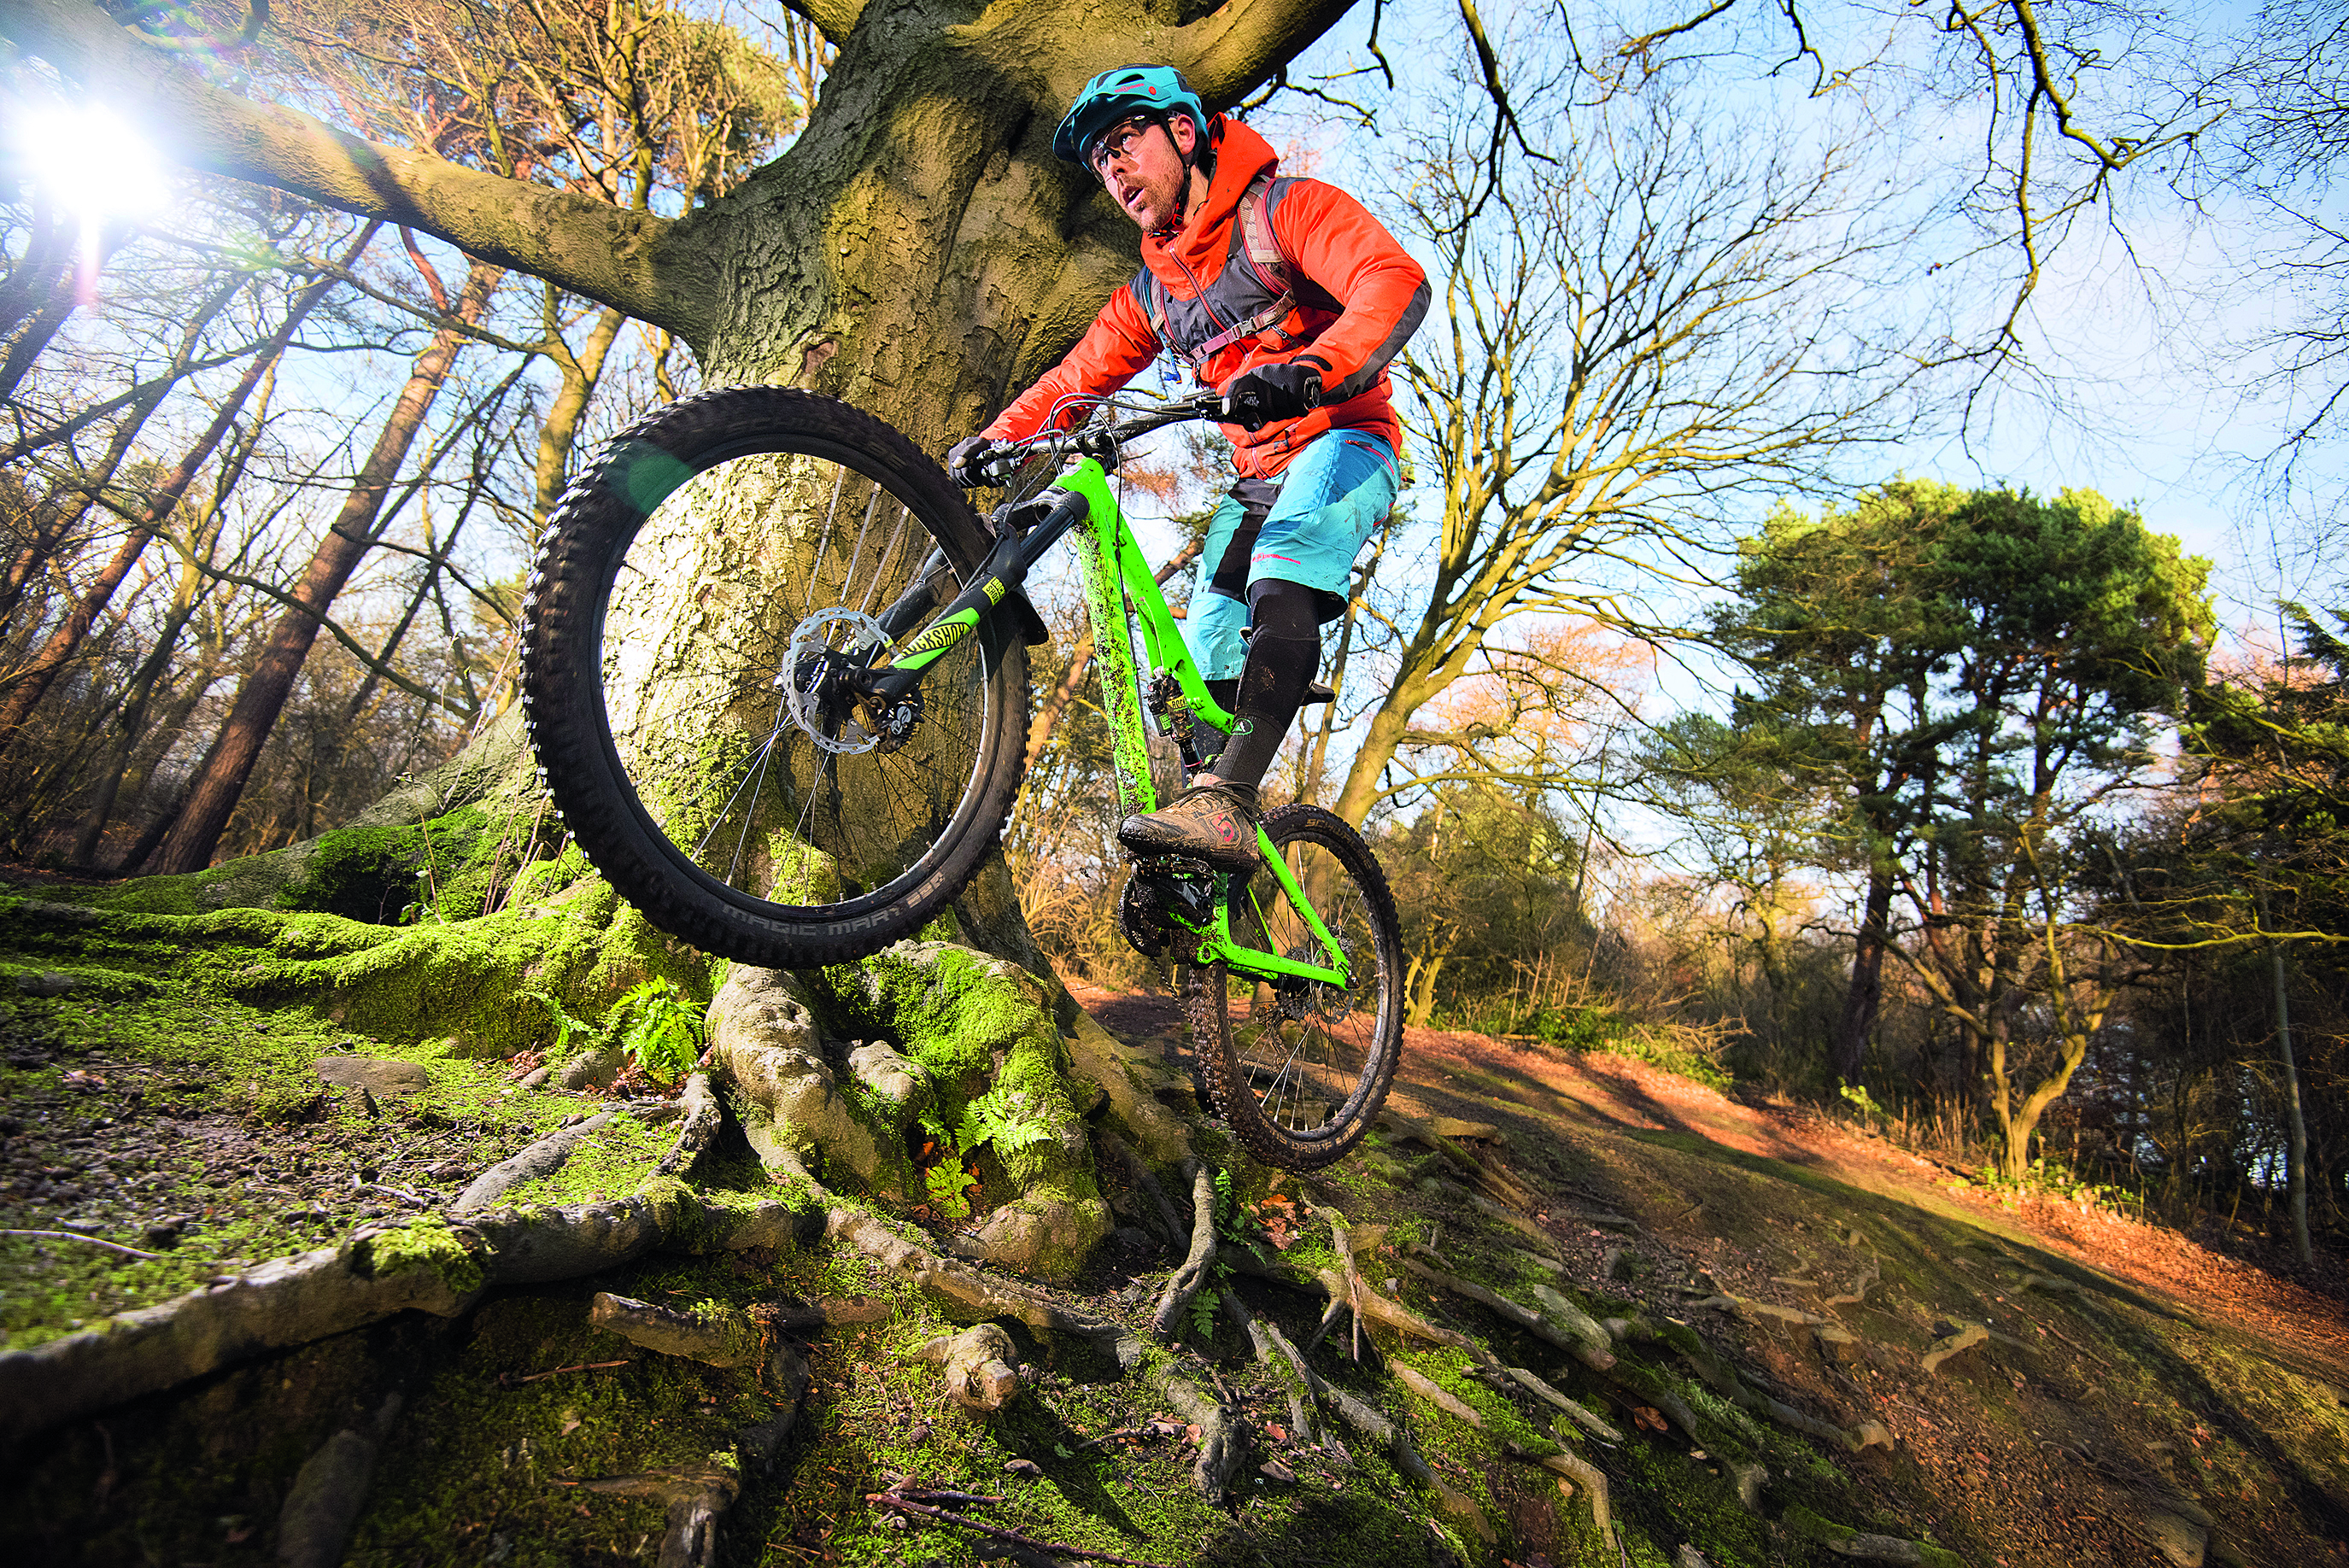
In the pic above, check out how much I’m loading the bike before he’s even taken off. He’s pushing before the trail gets rough, and landing where it smoothes out again.
Floating over the roots is the safest and easiest way to traverse them, and you don’t even need to clear them completely.
Go heavy on the smooth part of the trail after you’ve cleared the roots and you’ll regain control.
>>> The dirt jumping skills that will improve your trail riding
Push NOT pull
Remember, you’re trying to go heavy in the sections that you can trust, not pull up for the things that you’re trying to avoid.
This is the biggest habit that I have to correct with riders that are clipped in; the fact that they are always pulling to control the bike instead of pushing.
You should be gaining stability as you ride by starting low, pushing where you need it, letting the bike go light over the rough stuff, then landing on the other side. Most riders just pull up at an obstacle and wonder why they didn’t have traction on the way in or out.
>>> How to keep your flow at a trail centre
Grip points
Once you start identifying all the best places for traction, then you can start doing different things with them.
Grip points can be used to change direction, to get you out of trouble when you’re losing control, or even for slowing down if you’re struggling for traction elsewhere.
The point is that you have to be looking for them in the first place though. If you’re still looking at all the scary stuff then that’s all that you’ll be thinking about.
Look for the grippy bits and you’ll be going from one trustworthy part of the trail to another.
>>> MBR’s unessential mountain bike skills
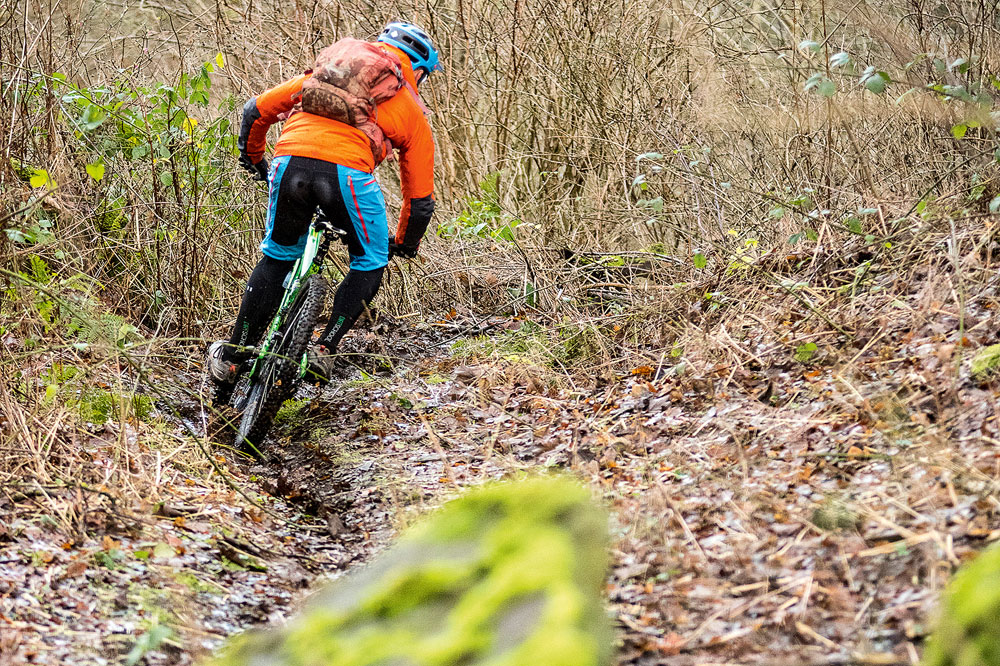
In the pic above, I’m lining my body up with a grippier part of the trail further round the corner. By doing so it means that, even if I slid on the leaves on the way in, I’m already facing the way I need to make it out the other side.
Flat pedal advantage
A real advantage of riding flat pedals lies in the way that a flat pedal rider weights and unweights the bike.
A clipped-in rider is attached to the bike and they will always pull on the pedals when they hop. A flat pedal rider doesn’t have the option of pulling the bike off the ground — they have to generate the spring by pushing first, and herein lies the advantage.
Flat pedal riders are linking all the grippy parts of the trail together already. See our recent How to ride flat pedals properly article.
Hop to it
Forget your bike. Think about how you’d jump if you were stood up right now and try and retrieve a frisbee from a tree.
Would you stand underneath it with a minimal bend in your knees and lift your feet up to get extra height? Of course not. You’d bend your knees further, get yourself closer to the ground, and push off with a lot more power.
>>> 4 simple ways to tune your riding position
If you adopt this theory — pushing with your legs to initiate a hop on your bike — then you will open up a lot more power to push into the ground for grip. You’ll be forcing the bike into the ground on your take-off and making yourself heavy on the trail at the same time. This gives you a lot of traction on the smooth sections.
The hop is actually more of a consequence of having pushed off hard with your legs in the first place.
After compressing into the ground on the approach, go light and float over the roots.
There’s an app for that
Dirt School’s coaching app lets you see the right and wrong techniques in slo-mo.
Homework
If you’re happy with your hops, find a bit of trail that has patches of roots down it. Walk it first and look for all the grip points.
Then come in at a decent pace and try staying low and pushing through all the easy bits. This should allow you to go light over all the rougher slippy sections.