Pushbike pimping

AKA turning a budget steed into a bone fide stunner. This Calibre Bossnut is just that little bit different to others.
Words and pics: Geoff ‘Warhead’ Waugh / waughphotos.com
We all want a mountain bike that looks a million dollars but often the hard reality is the budget will only stretch to a few hundred. Buying a good value machine in the first instance is the best move and then pitching a bit more money for a few cheeky upgrades will make your ride the belle of the bomb holes.
Take the Calibre Bossnut here for example. I knew it was a great entry level full suspension trail bike, so good mbr awarded it the coveted Bike of the Year back in 2015. Pay a fiver to join the Go Outdoors chain and the bike can be yours for a penny less than £900. Stupendous! So I bought one. And I pimped it.

The price list
- Frame paintjob from Fatcreations, three colour design and painted graphics: £375
- Fabric slim grips: £19.99
- Deity Cavity stem: £70
- Rental Fatbar: £70
- DMR V12 pedals: £49.99
- Funn UpDown Dropper post £190: (Go Outdoors Plummet post £99)
- Alloy Presta Tubeless valves: £12.49
- Schwalbe Rocket Ron tyres: £29 each
- Magura MT7: £186 each

First stop was a new paint job – a major overhaul but one that will definitely set your bike apart from the crowd – from Fatcreations down in Sussex. I chose a three colour design of metallic purple with duck egg blue inside the stays, for the new logo and flouro yellow accents to keep the look de riguer. Usually a flat one colour spray job for frame and fork (if you want it) is the most economic way to go, a metallic will cost a little more. Other reputable specialist painters dot the UK such as API in Essex, Argos in Bristol, Colour-Tech in Kent and Atlantic Boulevard in the north west. A little Google searching will find someone to fit your location and budget.
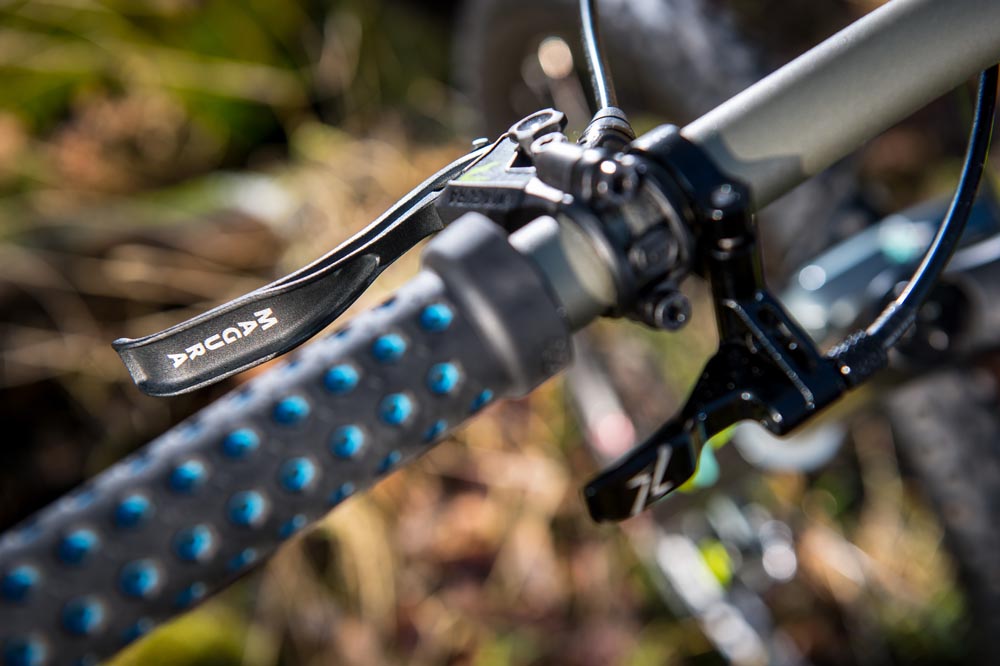
When the frame returns look at the details that make the ride sweeter and the look more suave. Items like grips won’t break the bank but will match or contrast the paint. I chose Fabric which shows the base colour through honeycomb-shaped perforations.Trick!

Most budget bikes come with correspondingly inexpensive components and a bling stem and new handlebar is much nicer to behold when you look down. I got a bit extravagant with a Deity Cavity stem but similar models can be found online that are less than half the price and carry off the chunky good looks. Likewise with the Rental Fatbar. A vital contact point so I didn’t scrimp, but a Ragley Wiser bar, for example, retains the strength at a lower price tag and comes in some head turning ano’ colours.

DMR make a V12 flat pedal in a yellow that exactly matches the paint on our frame so on went a pair. Since I’m learning to ride with flats it was too good to miss this option of adding a factory tweak. The Bossnut comes with dropper post routing as standard so a Funn UpDown post was fitted to enhance the ride. Go Outdoors actually market a dropper of its own, so look out for this if you purchase a Bossnut – there are always deals to be had.
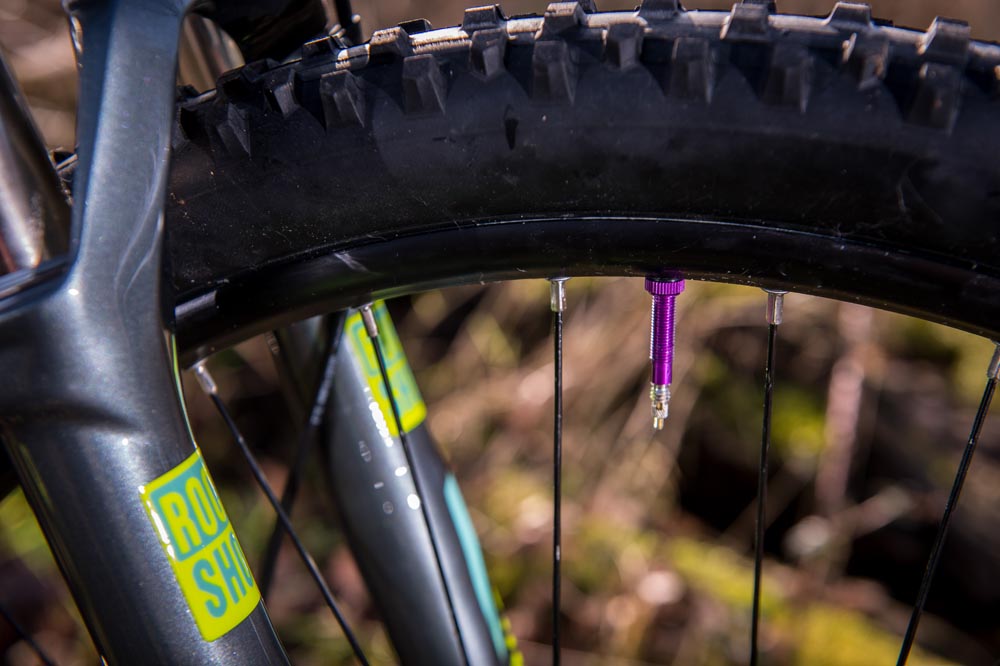
The stock WTB tyres are a tad aggressive and heavy for where I ride so a quick search found deals on Schwalbe Rocket Rons which shed a load of grams and gave the bike some all-important zip. The purple anodised tubeless valves from Love2Pedal were pure indulgence – but don’t they look cool!

Finally – and this is the most outlandish upgrade I fitted Magura MT7 brakes. I didn’t need to; the stock Shimano Deore do the job admirably, but I simply couldn’t resist the yellow flashes! No way could I stretch to the limited edition Danny McAskill models. And anyway, who wants that kind of target on their back!