Notoriously fiddly to set up. Here’s our guide to achieving just that.

We’ve consulted TF Tuned for this guide. It looks after all the warranty and servicing for Cane Creek shocks, and knows more than anyone about setting up the complex Double Barrel.
Factfile
- TIME TAKEN: 10min
- DIFFICULTY LEVEL: Easy
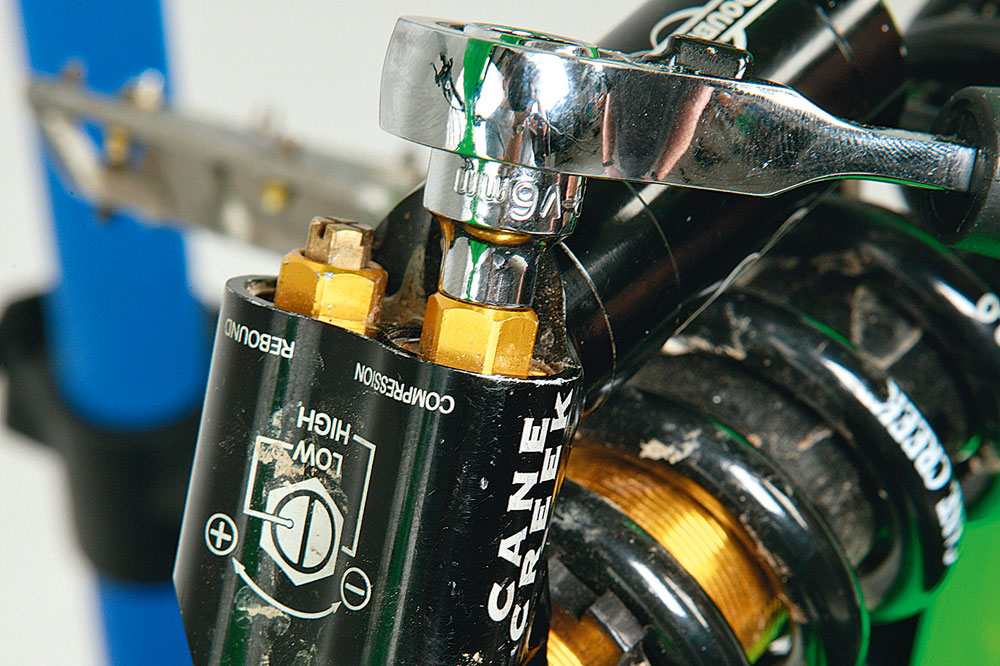
- TOOLS REQUIRED: A selection of Allen keys and a small socket set with 6mm and 10mm sockets. The key tool, however, is an accurate shock pump (preferably digital), so you can make repeatable changes to the air pressure.
>>> Cane Creek DBInline Shock review
Video: How to set your sag
Cane Creek’s Double Barrel was one of the first shocks to have independently adjustable high and low-speed compression and rebound damping, via four dials on the shock body.
This offered a level of tuning previously unseen on trail bike shocks and meant riders could really dial in their suspension. But it also introduced further complexity and the possibility of totally getting it wrong.
There are smartphone apps that can help you out with setting up your suspension. Including Cane Creek’s own Dialed app.
To simplify set-up, Cane Creek configures every aftermarket shock with a base tune from the factory and, if the shock comes fitted as standard to a bike, it will be prepared for that bike and a Base Tune Card will be supplied with the owner’s manual. The base tune guide can also be found online at canecreek.com.
This takes some of the guesswork out of set-up, but Cane Creek admits the guides are only a starting point, because they don’t take into account different rider weights.
So to really perfect your set-up you have to configure the shock yourself, taking into account your weight, conditions and the terrain you’re riding on.
>>> RockShox to feature smartphone suspension tuning?
Check your tyre pressures (no really)
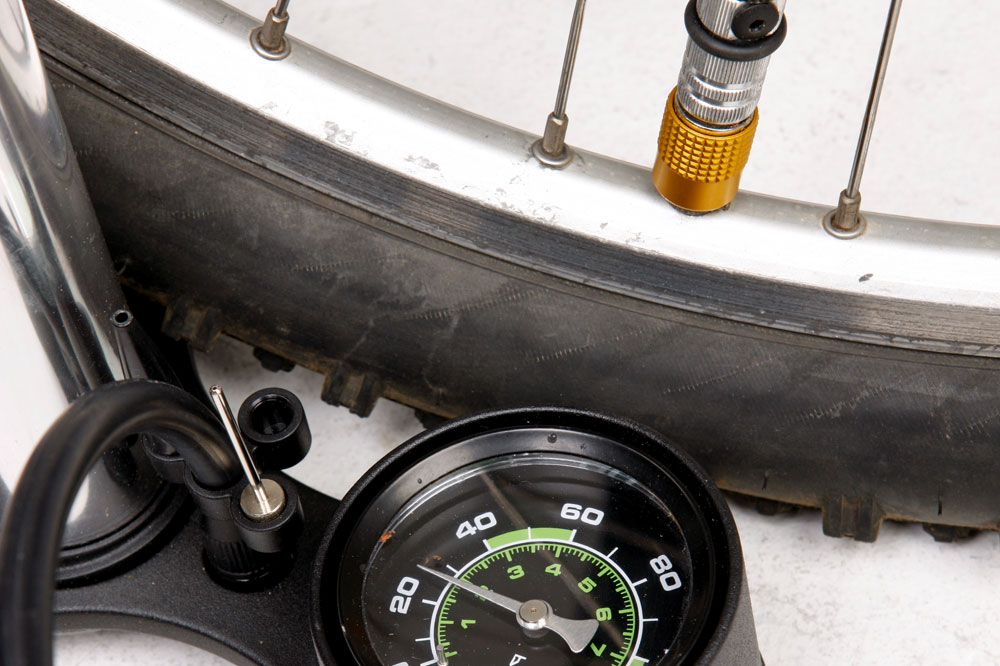
Before you even bother adjusting anything, check your tyre pressures. Make a note of them and run these pressures when making any adjustments to your suspension in the future.
Let it all out
You need to start fresh, so remove the air cap and release all the air from the air shock (or preload from the coil) and wind all the adjusters to the fully open position.
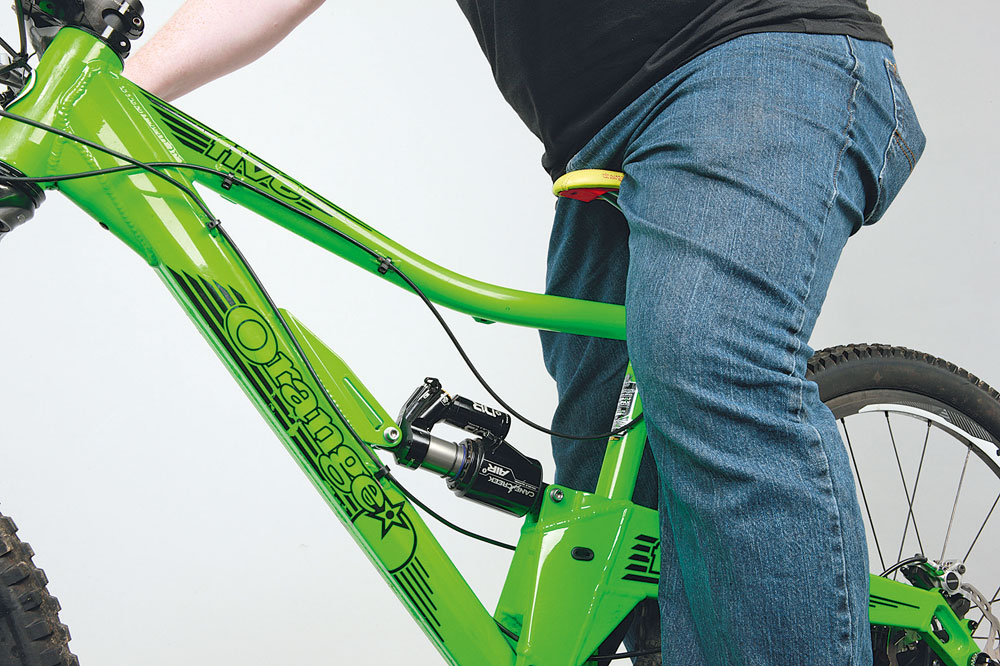
Setting sag

Now you need to set sag. TF Tuned recommends 25 per cent if you like a firm XC-type feel to the suspension, and between 30-35 per cent if you prefer it to be more active and compliant.

Set sag on the DB Air by adding more air using the O-ring as a guide. On the DB coil shock you can to use the bottom-out bumper on the shock shaft to measure the sag by temporarily pushing it to other end, but ensure you wind off any preload first. Make these sag adjustments in your riding kit, including a pack if you use one.
Top tip: If you’re using a coil shock ensure you have the correct spring rate. Use the online spring calculator at tftuned.com/spring-calculator if you’re unsure.
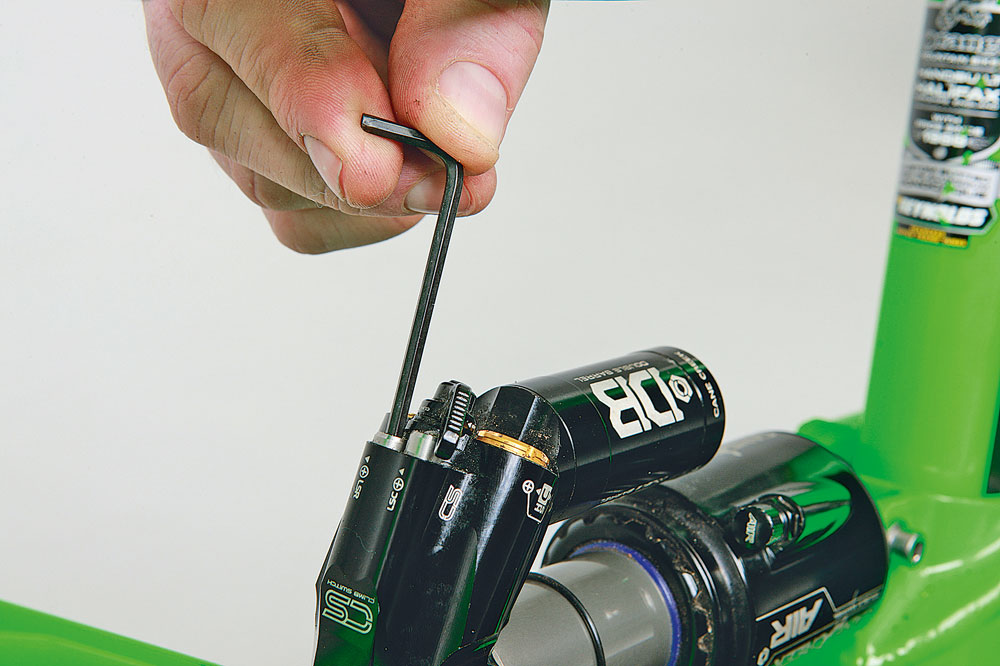
Low speed rebound

The first setting to adjust is the low-speed rebound. Wind the dial all the way to maximum. This will undoubtedly be too much, but if you then conduct a kerb test, by riding off one, it allows you to feel how the suspension performs when set up poorly. Chances are, the wheel will just drop off the kerb and stop dead.

Reduce the low-speed rebound until the suspension cycles only a couple of times, and then settles, when you ride off the kerb. Make a note of how many clicks you dialled out.
Low speed compression
Next, adjust the low-speed compression. This controls rider input, like weight shifts, and braking stability. You want the bike to sit higher in its travel over small bumps and undulations, so start adding clicks of low-speed compression until the bike doesn’t wallow or feel mushy when you’re pedalling. Dave recommends a maximum of around five clicks of LSC. Again, make a note of how many clicks you added.
High speed compression

High-speed compression deals with impacts that generate higher shaft speeds, such as sudden jolts from roots and rocks. Dave generally recommends starting with only 1-2 clicks of HSC. The suspension needs to absorb the square-edged impacts, but still remain lively and extend fully, ready to absorb repeated hits.
High speed rebound
High-speed rebound damping is a tricky adjustment, because the only way to really feel what’s going on is actually on the trail. If you don’t have enough HSR rebound, the rear suspension can kick you forward onto the front wheel, especially over a jump. It also creates a sort of pogo effect — it feels like the bike is constantly unsettled.
Climb Switch
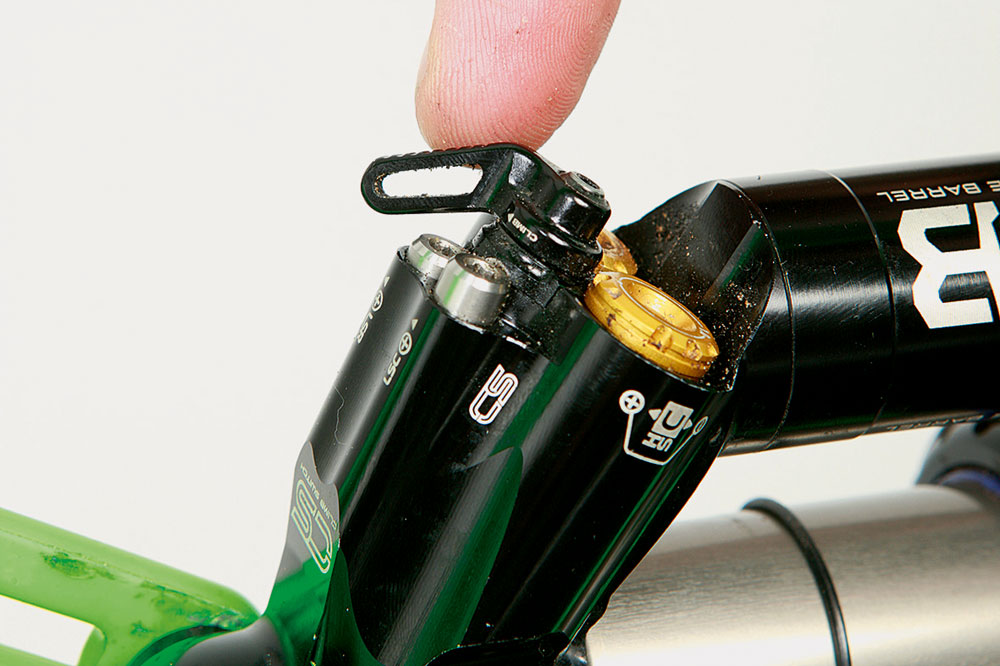
If your Cane Creek shock has the new Climb Switch, then it makes sense to set your bike up for descending, which might mean a little bit more sag and a softer feel (less LSC), and then use the lever exclusively for the climbs.