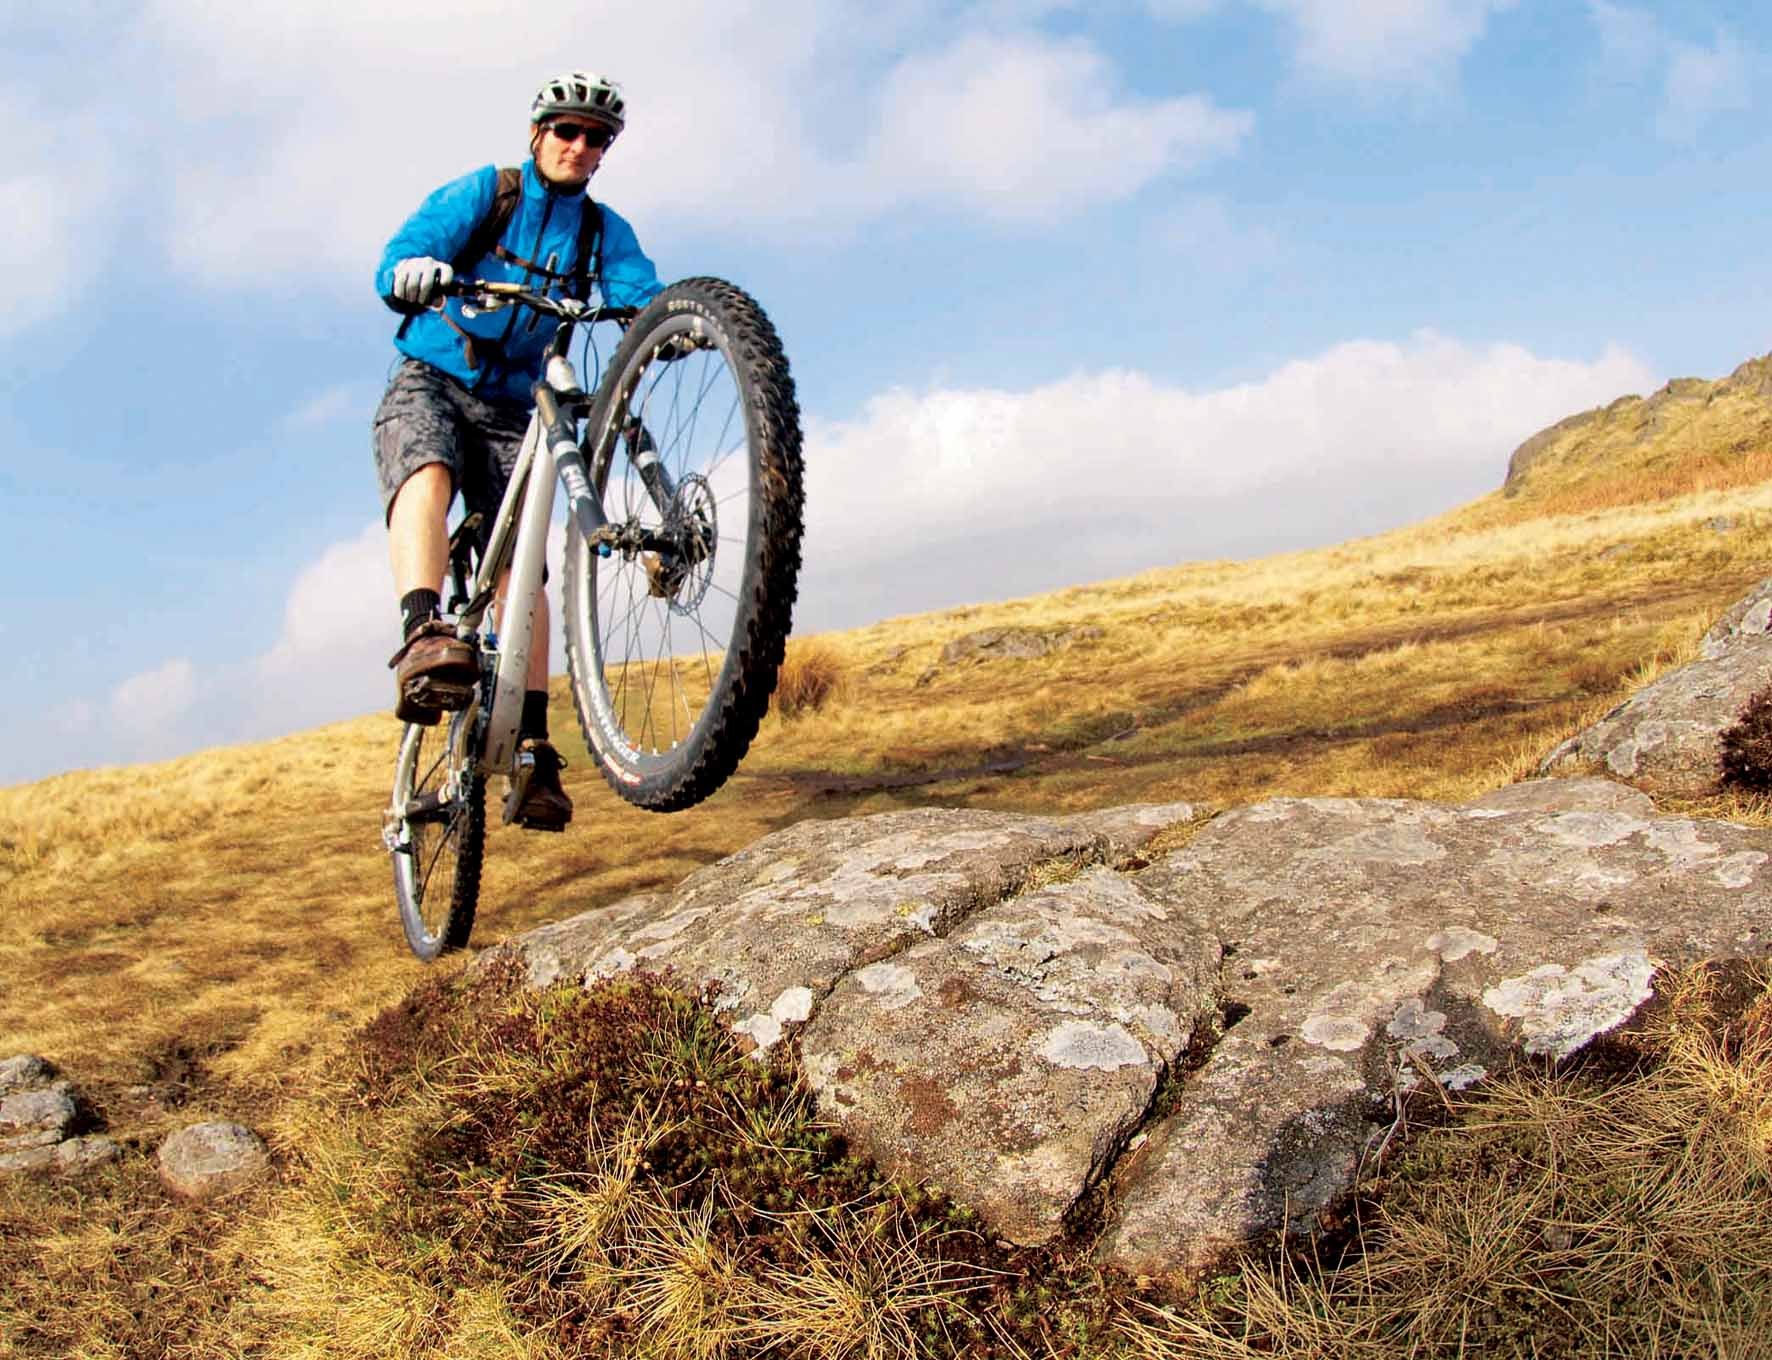


Trails, both natural and man-made, are often littered with little single bumps and jumps, mounds and crests that, hit wrongly, will lose you speed and balance, or cause harsh flat landings. Although it’s tempting to hit these little transitions and pull up to catch as much air as possible, air-time shouldn’t be welcomed and any sweet jumps should be forgotten about. As strange as it seems, by keeping the bike on terra firma, you can transform your ride from a clumsy, effort laden session to a fast, flowing and smooth trail that gives you free speed and links everything together seamlessly.
Step 1
Spotter
Learning what will give you speed and what won’t is something that will only come from hours in the saddle. However, any fast change in gradient has potential. To begin with try squashing almost everything. Keep your head up and even if it looks like there’s a take-off coming up, don’t jump off it unless you know there’s a good transition to land on. Likewise, if a bump is quickly followed by a corner, keeping your bike down on the ground will help you get better speed and stability into the turn.
Step 2
Approach
Once you’ve identified a potential single bump, get set up as early as you can. The faster you’re going the earlier you’re going to have to prepare, so bear that in mind if you’re really hacking it. Our aim is to accelerate or maintain our speed over the bump so stop pedalling and let your technique over the crest do the rest. With your pedals level you need to get into your attack position, loading the bars and keeping your hips centrally over the saddle.
Step 3
Timing
How much you lift up and when you do it will be directly correlated to the size of the bump and your approach speed in the run-up. What is crucial though is your timing. As our aim is not to take off, you need to second-guess the lip of the crest by un-weighting or lifting the front wheel before it gets there. If the bump is low you’ll need to lift up before it, shown above. If it’s a larger crest, as along as you miss the lip you’ll be fine, even if that means hitting the start of the rise.
TOP TIP
Don’t be too scared to get aggressive and exaggerate the move. The harder the push, the more speed you’ll find.
Step 4
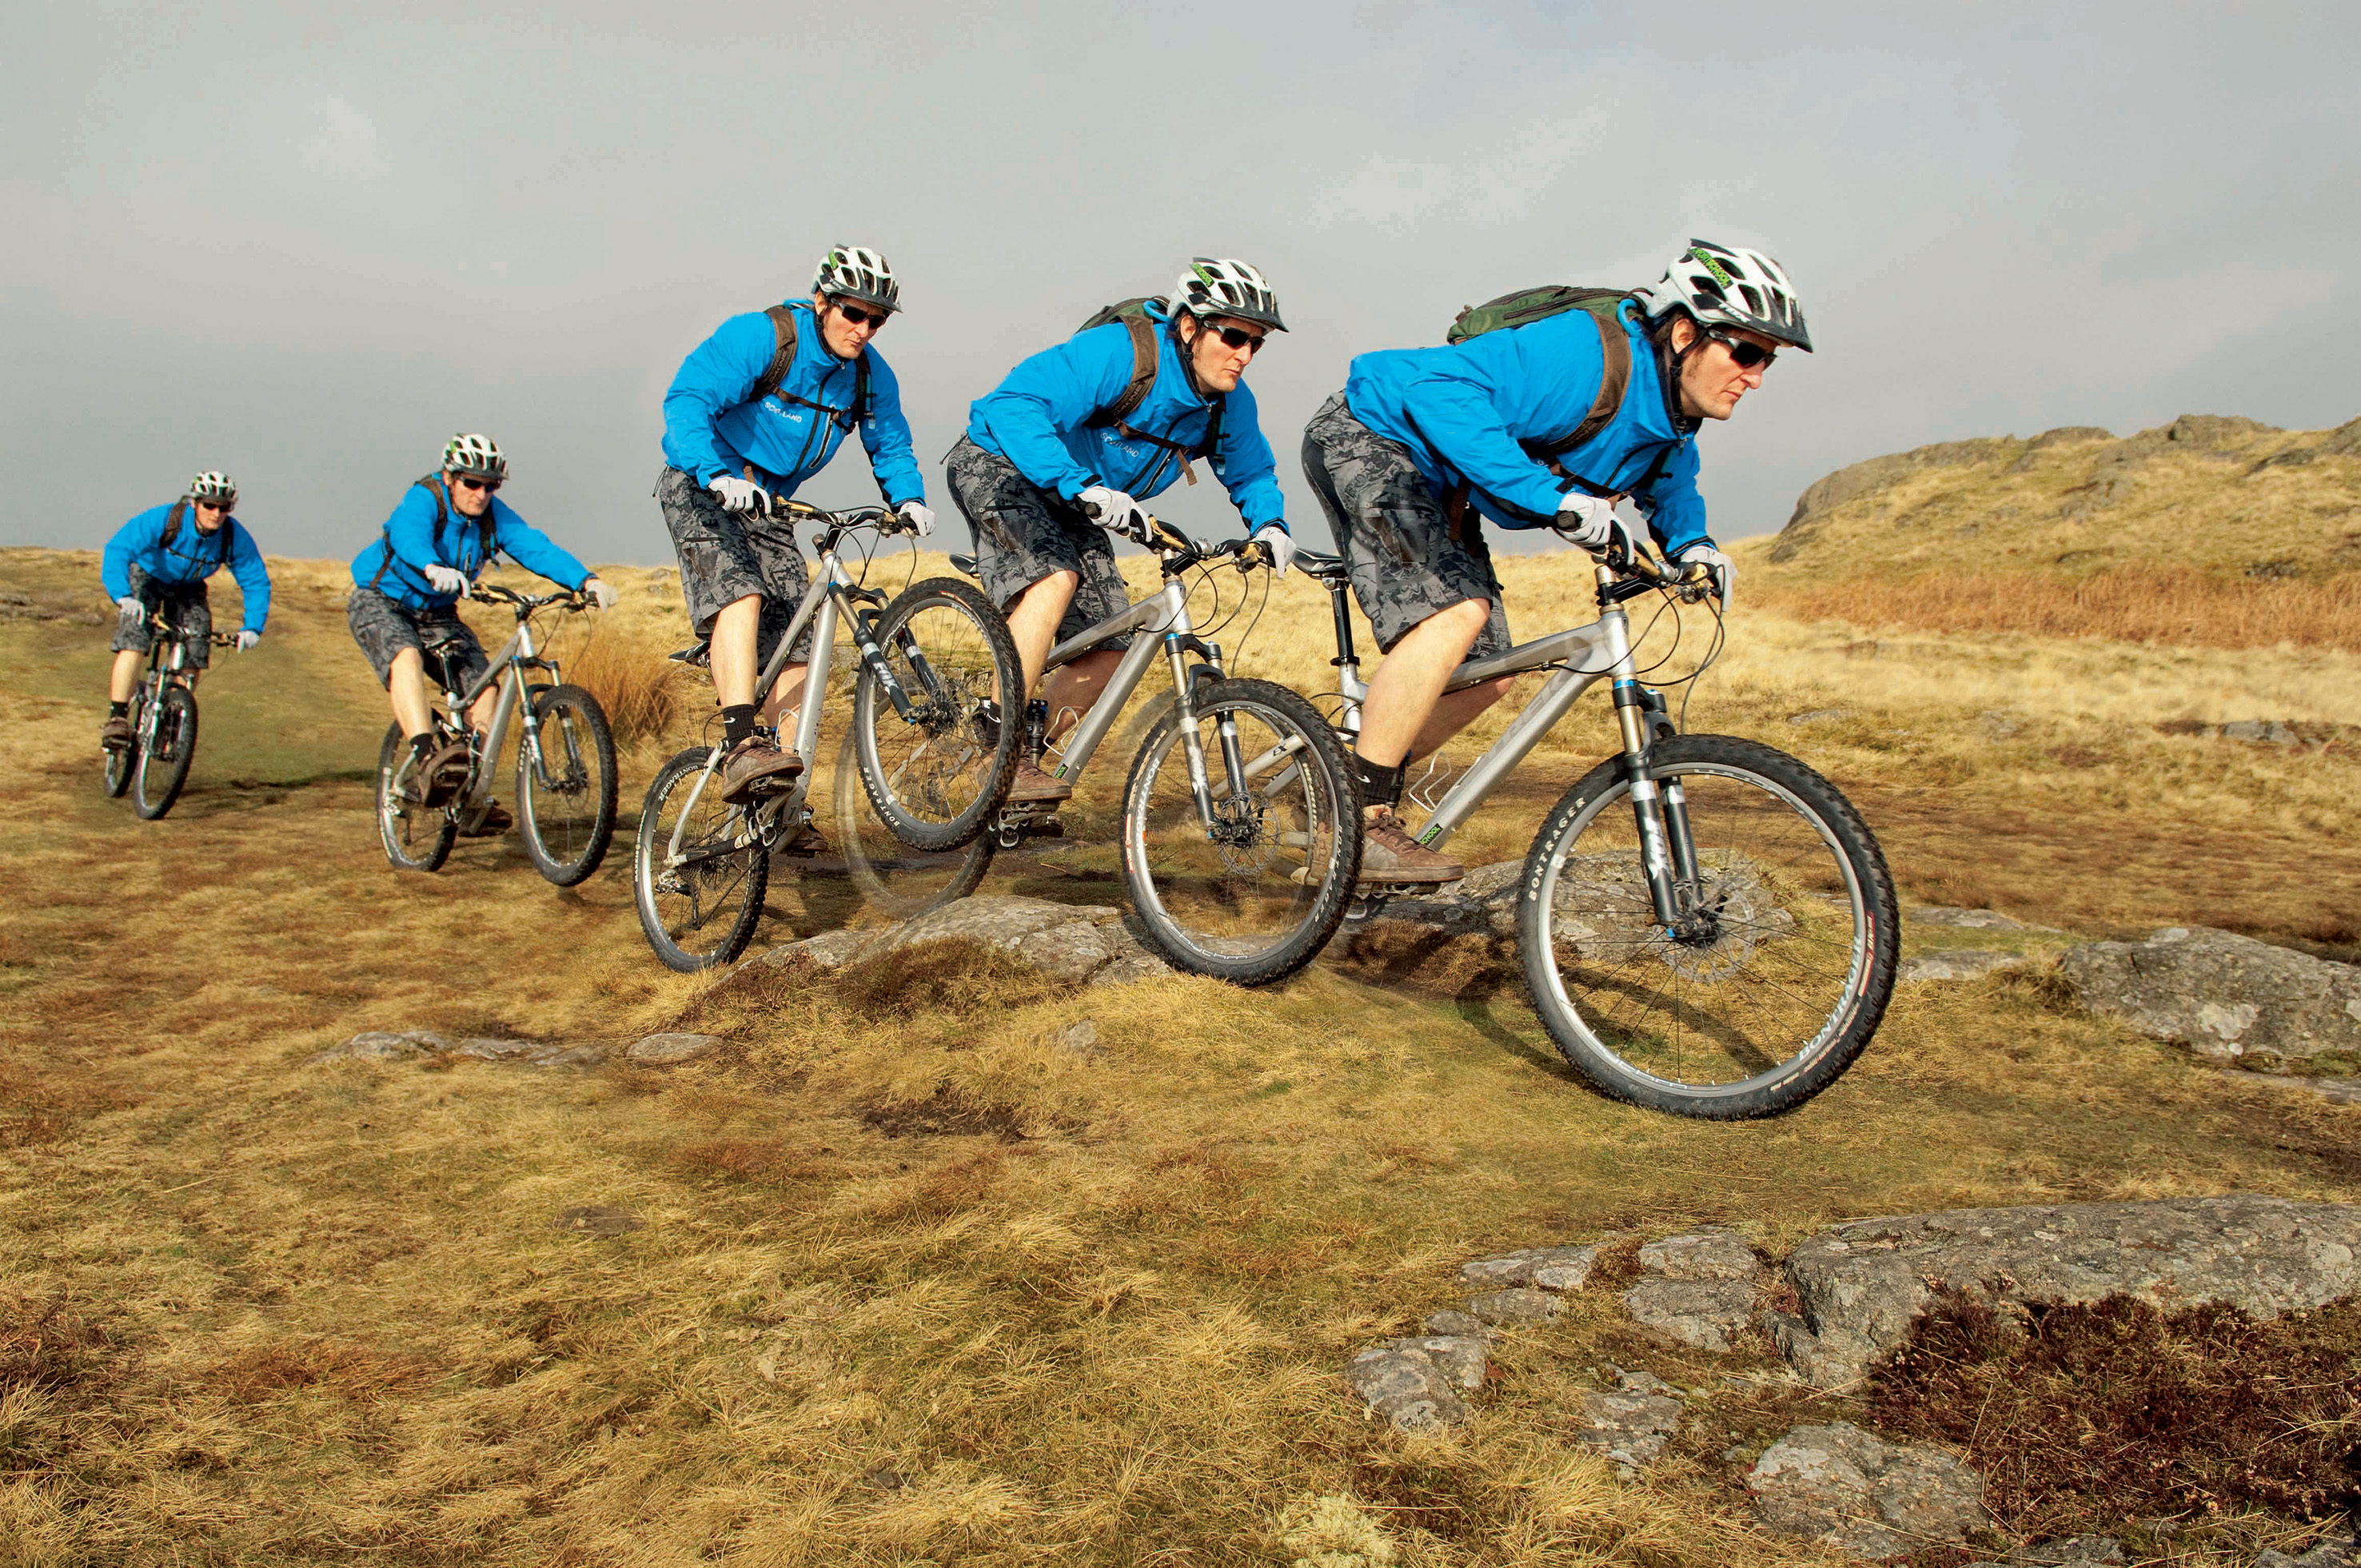
The lift
Base your front wheel lift around a manual, although you may not have to get more than a few inches off the ground. As you’re approaching with some momentum, stand up and don’t pedal; get aggressive and shift your weight from your hips, whilst looking at the lip to keep your timing right. If you’re flying and the bump is only low, it is possible to cheat a little and assist the manual with a little pull on the bars. That way you can react quickly and keep in control.
Step 5
The pump
With your front wheel airborne you’re now at the crucial point. Push down too early and you’ll clip the top; too late and you’ll lose the advantage and speed that the downslope provides. The aim is to squeeze as much as you can out of the slope, so don’t hold back and try and exaggerate your push. Move your hips forward to build forward momentum. At the same time extend your arms and legs into the compression. Timed right, the whole move will flow and you’ll notice a quick burst in speed.