 Most of us hit the trail in an attempt to get away from our desks; but a computer does have its uses — especially when loaded with some digital mapping software and linked to a GPS receiver. In fact, it could completely revolutionise the way you plan and navigate your routes.
Want to know how far it is between the car park and the pub marked near the top of the map? Or how long it would take you to link in the stretch of singletrack you rode the other day with your mate’s favourite loop? Plot it out on your PC and hey presto! All the facts! Even better: with a little bit of simple jiggery-pokery and a cable, you can actually plot the proposed route straight onto a GPS receiver and use it to actually direct you all the way round, leaving you to relax and enjoy the riding. What are you waiting for?
GEAR YOU MUST HAVE:
GPS Receiver Unit
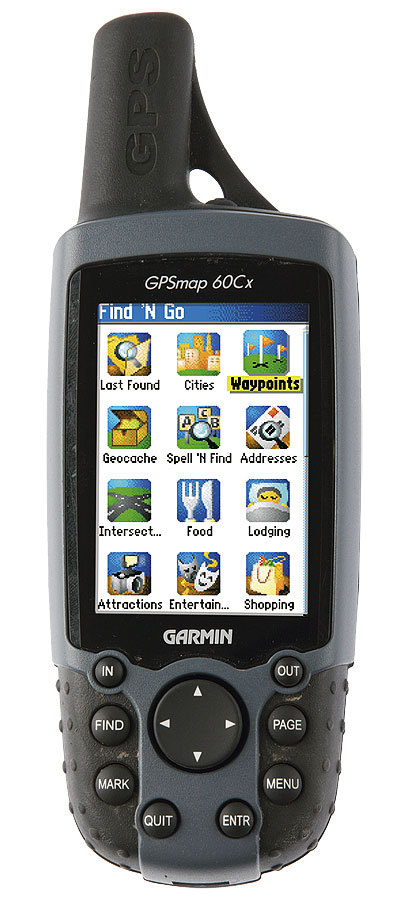
These things are getting smaller, easier to use, and more accurate all the time. Route guru Tommy H uses a handlebar-mounted Garmin Etrex Legend CX to plan his monthly outings and record all the facts and figures when he’s finished, while Lockey and Danny have both gone for Garmin’s GPSMap 60CX. No unit has enough memory to run full OS mapping yet but Garmin’s Topo V2 software certainly gives a fair amount of detail.
PC
Yes, there really is a good use for these cumbersome objects that haunt you all day long. It’s even better if they’re linked to the net for exchanging information (see below), and to a full colour printer, so you can print handy pocket-sized maps in case you decide to deviate from your original idea. Check the minimum specifications on the mapping software before buying one just for the purpose. Note: Even if you don’t run mapping software, you can still download a few different programmes that will make it easier to upload routes and waypoints from your PC to your GPS (www.easygps.com; www.gpsu.co.uk).
Although Mac users have traditionally been ignored by the GPS/mapping developers, manufacturers are starting to offer OS-compatible systems.
Mapping software
Available in all shapes and sizes, for all kinds of areas, you just load it onto the PC and start planning your riding. Draw your proposed trail on the map using your mouse, and it’ll tell you the distance travelled, the height gained, and you can even set up most of them so they’ll estimate how long the ride will take you! The whole team here is committed to Memory-Map but there are also good products out there from Anquet and Tracklogs.
Route Information
All the navigation aids in the world won’t help if you don’t know where you’re going to ride in the first place. This is where the pull-out section of your favourite mag comes in. But if you’re really insatiable, and can exhaust all of them quicker than we can produce them, there are plenty of other sources. Check out the web (see, another use for that PC), guidebooks, cd-rom products, and anything else you can think of.
TECHNIQUE
Follow these handy hints to get you up and running
01
With your software installed you can start drawing your map. All the software types work slightly differently, but you’re basically creating a route, which you can then follow when you’re out on the bike. The software will highlight distance, height gained, etc (Memory-Map click Data, Anquet use View/Information). You can even set it up to tell you how long it should take you, although this will always be slightly vague. Tommy H uses 10kph with no additional time for height gained, plus an extra 20 mins per hour for navigating/pictures, etc. Trial and error will soon establish something that’ll work for you.
02
Now it’s time to make sure that your GPS and mapping software are talking to each other — usually it’s just a matter of connecting a cable from the unit to a USB port in your PC, and then clicking the GPS option in the menu and adjusting the settings for your particular receiver. Now upload your route to your GPS receiver — on Memory-Map this is GPS/Export to GPS and on Anquet GPS/Save to GPS. Check your receiver to make sure the route is actually there and ready to navigate. If you don’t have the mapping software, you can still make a route by adding the waypoints manually, or by using some waypoint plotting software available free from the web — see above.
03
Just get out and ride… Well, first clear the log from your last outing, and then open the route you’ve saved and ask it to navigate the route — usually by pressing start. Clip it onto your bars and off you go. It’s worth remembering that the GPS is actually navigating you from one point to another, rather than actually following a trail, so it won’t always point in the exact direction you’re travelling. It’s also worth remembering that it isn’t totally pinpoint accurate all the time, so it may still be looking for waypoint 27 when you think you’re already there and are looking for 28. If you ride a few metres in the direction you think, you’ll quickly see if you’ve gone wrong or not (or you can just get a map out!).
04
The fun’s not over just yet. The GPS records the actual route you ride as a ‘track’, which you can then save before you switch the unit off. Now you can go home and download it to your PC, to compare your original plan with what you really did — as well as perhaps saving the information for use another day, or to share with mates. Using Memory-Map you can even follow the track with the mouse to see how far you’d travelled and how fast you were actually travelling at any given point.
Final Notes
Remember that batteries can run out, and screens can break in a tumble. Therefore, always carry a map with the route marked on it too. This will also help if you decide to lengthen or shorten the ride. At least you can print it on waterproof paper from your mapping software.
And if you need more detailed information on using a GPS and digital mapping, check out Getting to Grips with GPS by Peter Judd and Simon Brown (pb Cordee £14.95).