Quick fix for clicks
Hear nothing from your bike but the rumble of rubber on the trail and the ticking of your freehub: these quick fixes will silence unnecessary sounds.
>>> Five tips for setting up your new mountain bike (video)
1. Creaky seatpost clamp
Watch the video above. Although it’s principally about curing a slipping seatpost it does show you how best to clean out a seat post clamp collar and seat tube. Tiny bits of dirt and grit in this area are a very common cause of clicks and creaks.
2. Your bike sounds like a banjo

Stop internal housing from rattling with zip-ties
Internal cable routing is pretty standard kit now, but those cables are often free to move about inside your frame, turning the thing into a musical (if sonically awful) instrument. Like a banjo, basically.
We’ve heard of people injecting expanding foam into their frames, but this can buckle or crack the walls and makes it impossible to respray them at a later date.
To stop the tinkling, attach a few uncut cable-ties along the internal housing before you feed it into the frame. The loose ends will spring out against the internal walls and hold the cable in place.
3. On rough ground the chain chatters
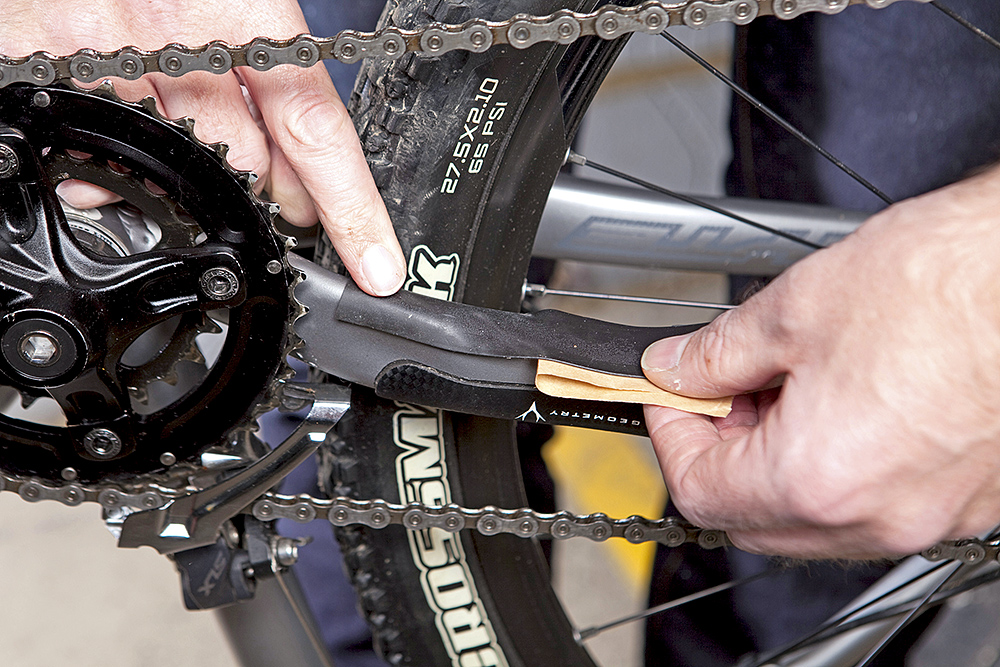
Rubber Mastic tape on the underside of your chainstay keeps rattles at bay
Rough terrain causes the chain to slap against the frame. Assuming your chain is the correct length, and you’re not ready to splash out on a clutch derailleur and narrow/wide chainring, the first thing to do is make sure your chainstay armour is up to scratch.
Moulded plastic/rubber protectors are commonplace now, but if your bike uses a sticker to protect the paint, replace it with 3M’s rubber mastic tape (see step 3) top and bottom.
Don’t forget to put some alongside the outer chainring, and the link between the inner and outer plates of the front mech.
4. The down tube sounds like it’s taking flak
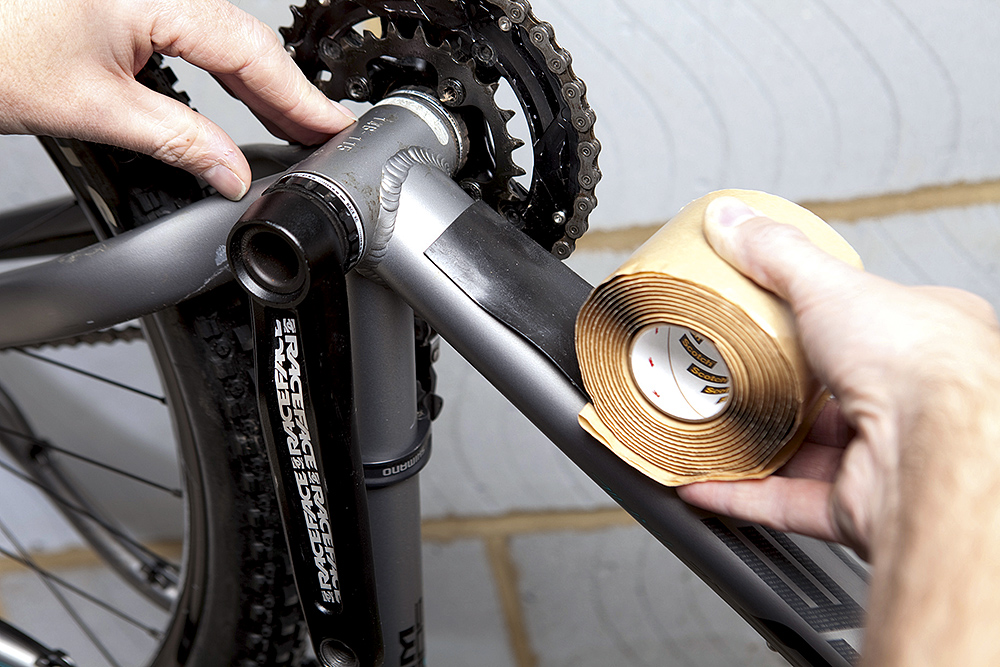
3M rubber mastic tape will protect your downtube from rock strikes
Most people slather their bike in see-through helicopter tape, and while this will protect the paintwork, it won’t do anything to deaden the sound of shrapnel hitting the down tube.
Instead, try 3M rubber mastic tape instead: it’s favoured by DH racers because it’s clean and easy to attach and keeps its shock absorbing, rubbery construction.
5. A tangle of flapping cables

Keep your cables from flapping around with a zip-tie
Excess cable gets in the way and looks messy. As long as the bars can turn 90 degrees in either direction, you’re all good.
Before trimming, measure twice, cut once, and make sure you route the back brake and front mech cable around the right side of the head tube. The rear mech cable can go around the left side.
Net result? Cleaner lines and no more cable rub against the head tube. If the brake hose taps against the gear outer, zip-tie them together.