Now's the time to spend some workshop time and banish those creaking and cracking sounds
How to look after your frame pivots and moving parts to prevent premature wear, and a much more expensive bill down the line.
>>> Yes you can still cycle… but should you?
How to service frame bearings and pivots: need to know
- TIME TAKEN: 1.5-2hr
- DIFFICULTY: Hard
- TOOLS REQUIRED: Set of Allen keys, Teflon grease, blue thread lock, torque wrench
Creaking and cracking sounds can come from many different areas, but some of the most common culprits are dry pivot bearings. Failing to look after the pivots and moving parts can create premature wear, resulting in a more expensive bill down the line.
There was no excessive wear to the bearings on the test bike we used for this guide, but if you find seized or rough bearings, I recommended you replace them, as not doing so could write off your frame! To replace them you will need a bearing puller and press (see below). If they’re outside of your budget, you could club together with your mates to reduce the cost.
Naturally, every frame is different, and there are various axle systems, however the principles are still the same. If in doubt, consult the manufacturer’s information. Blue thread lock is needed to ensure the pivot bolts don’t loosen over time, and you will need a torque wrench to tighten all bolts/axles to the correct specification.

1. Remove some stuff to make it easier
Remove the rear wheel, chain, rear derailleur, shock and rear brake to ensure the swingarm is free of all components. The crank and/or chain device may also need to be removed.

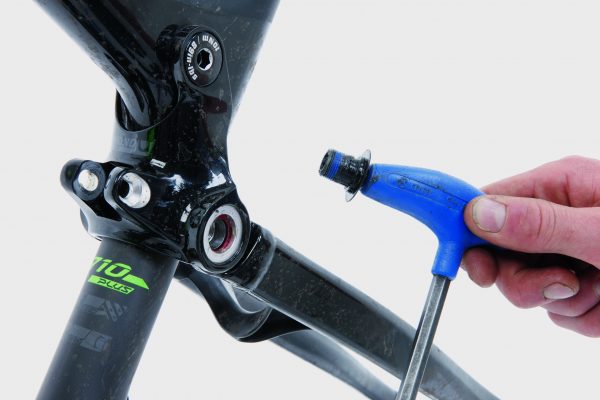
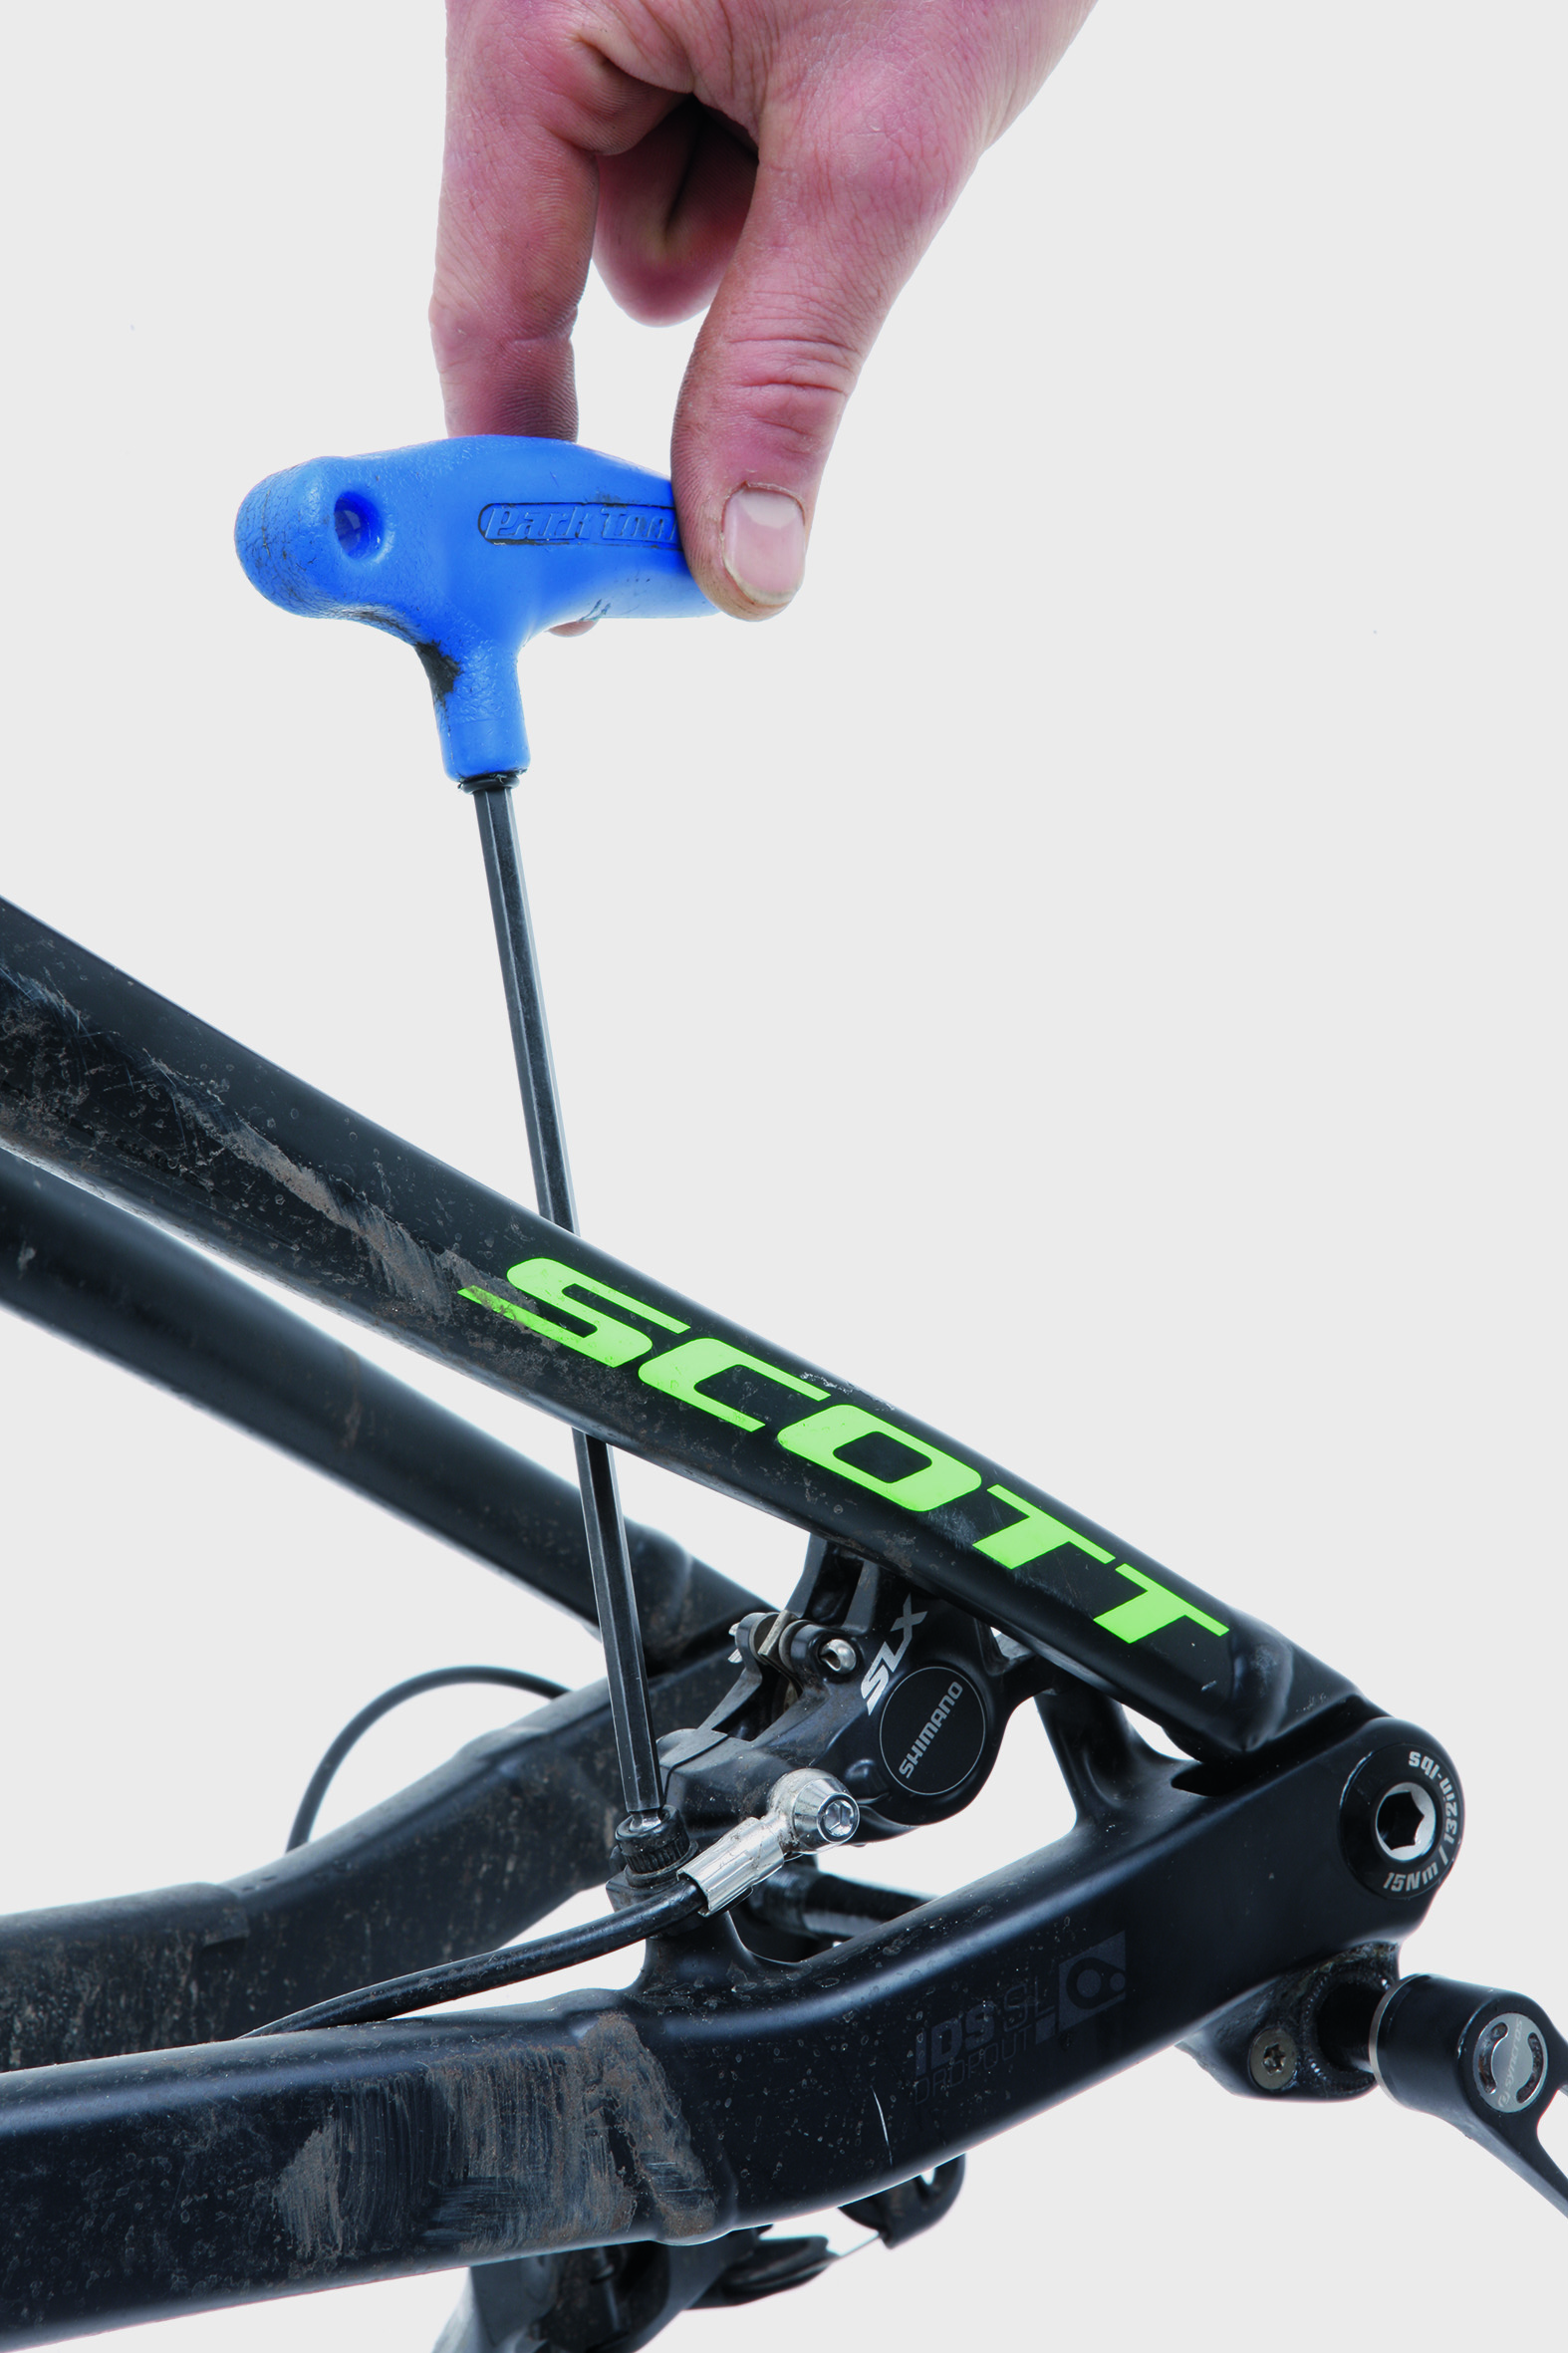
2. Unscrew each pivot bolt
One by one, unscrew each pivot bolt. You’ll want to work from the smallest pivots to the largest one.

3. Keep an eye out for spacers
Many pivots have small spacers between the bearing and the surface it sits on. Take care when removing so you don’t misplace them.

4. Keep things in order
Keep all parts in the order removed and correct orientation. A clean cloth or towel works well for this.
Tip: If you’re worried you’ll forget what goes where, take a picture with your smartphone.
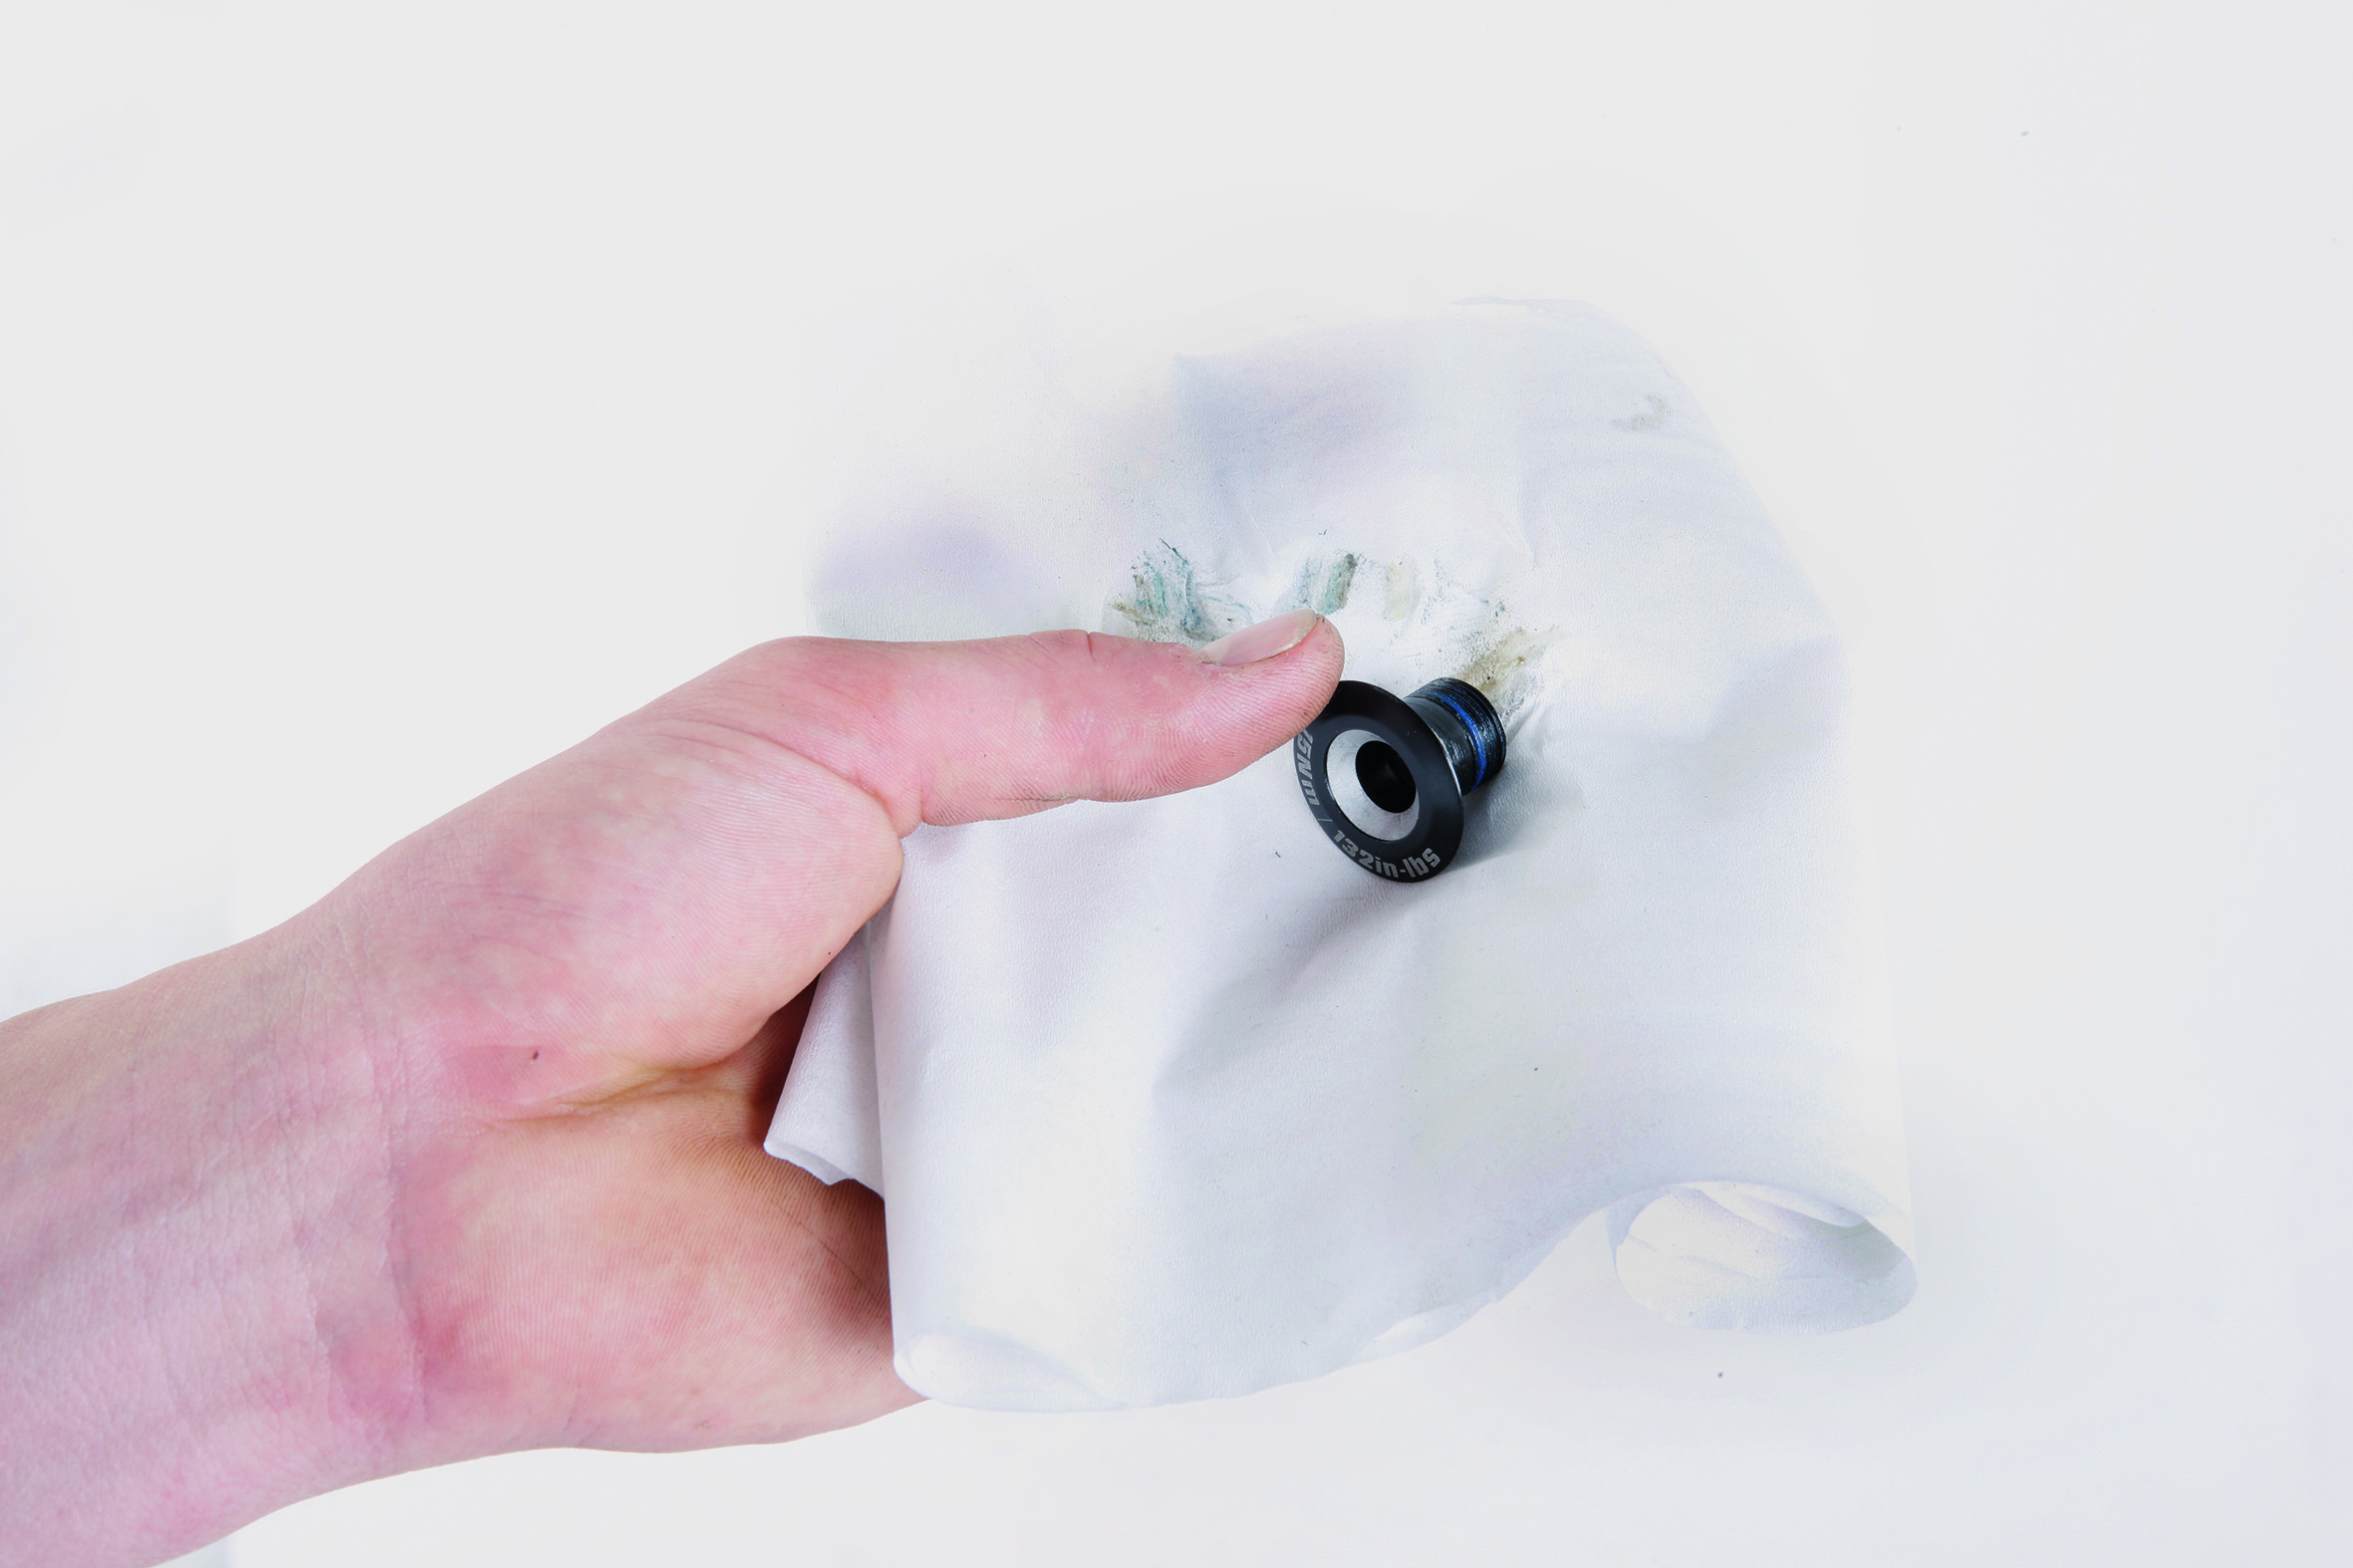
5. Clean and degrease hardware
Clean all hardware parts with a cloth and degreaser. Fully remove any dirt and old grease.
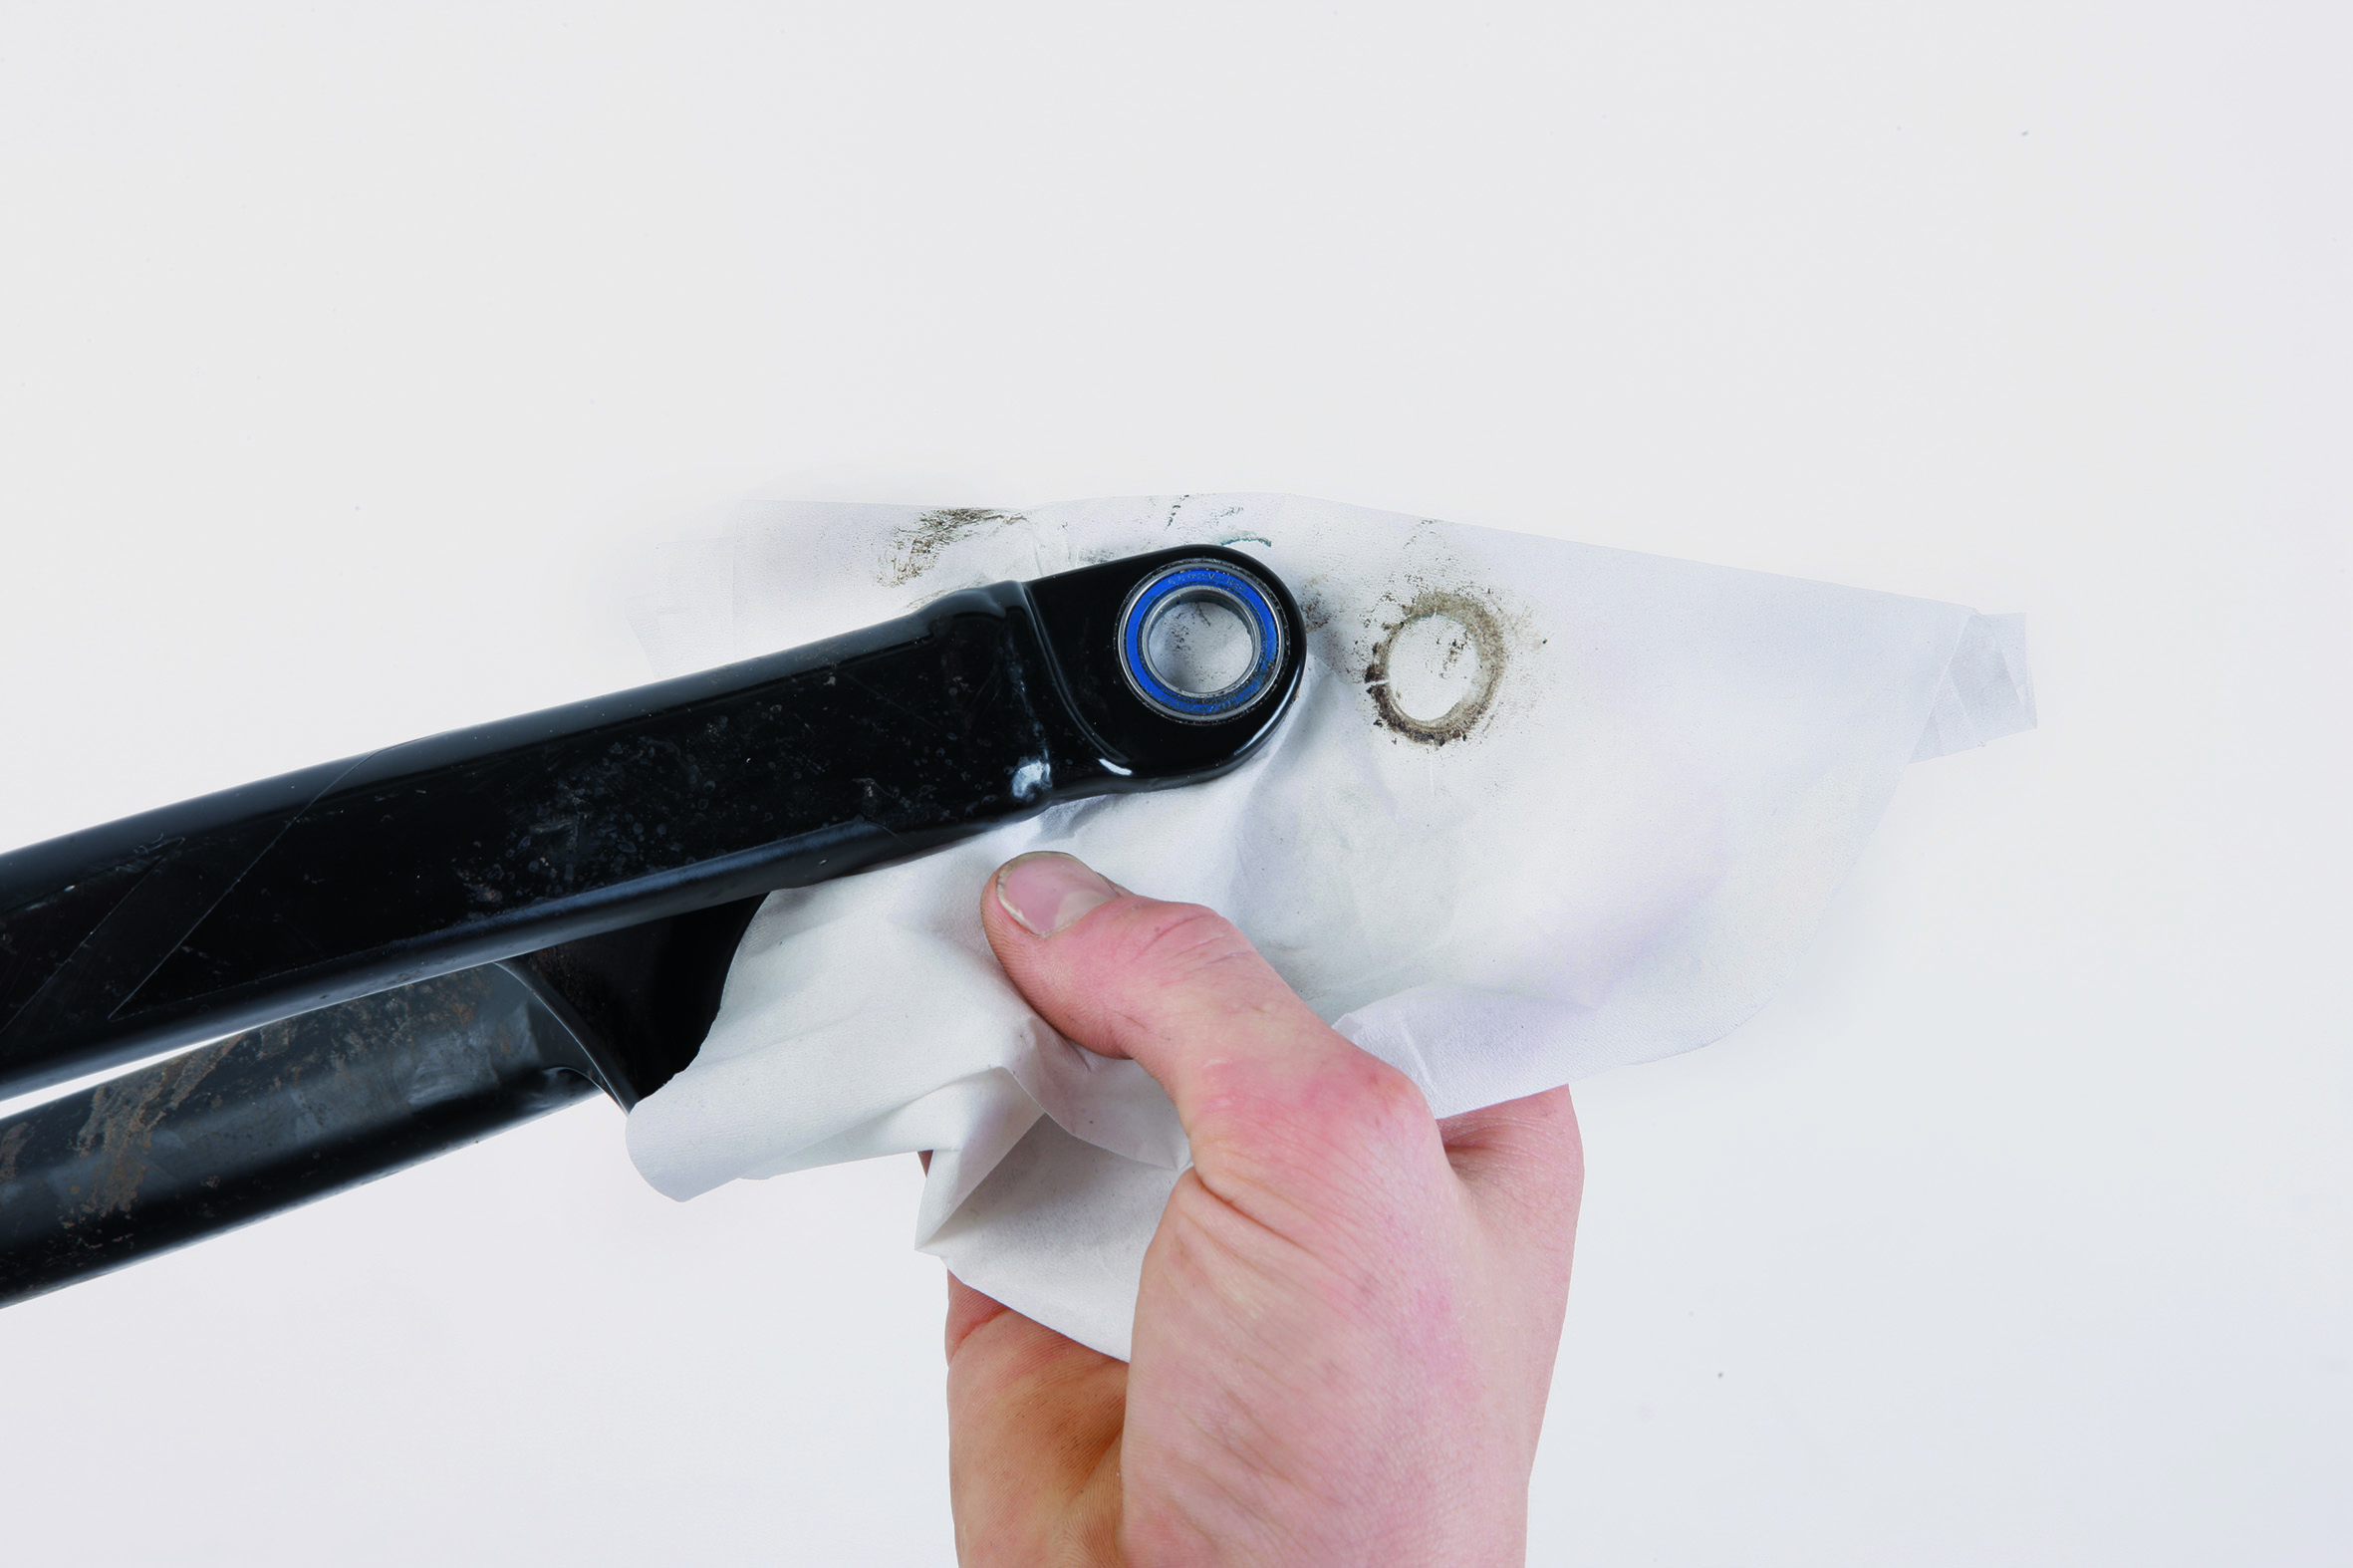
6. Clean but don’t degrease bearings
Clean all areas with bearings fitted using only a cloth and no degreaser.

7. Close inspection
Inspect bearings and/or bushings along with axles/pivot bolts for visible damage and ensure smooth rolling action for each of them. Replace any of the pivot bearings if they are seized or pitted.
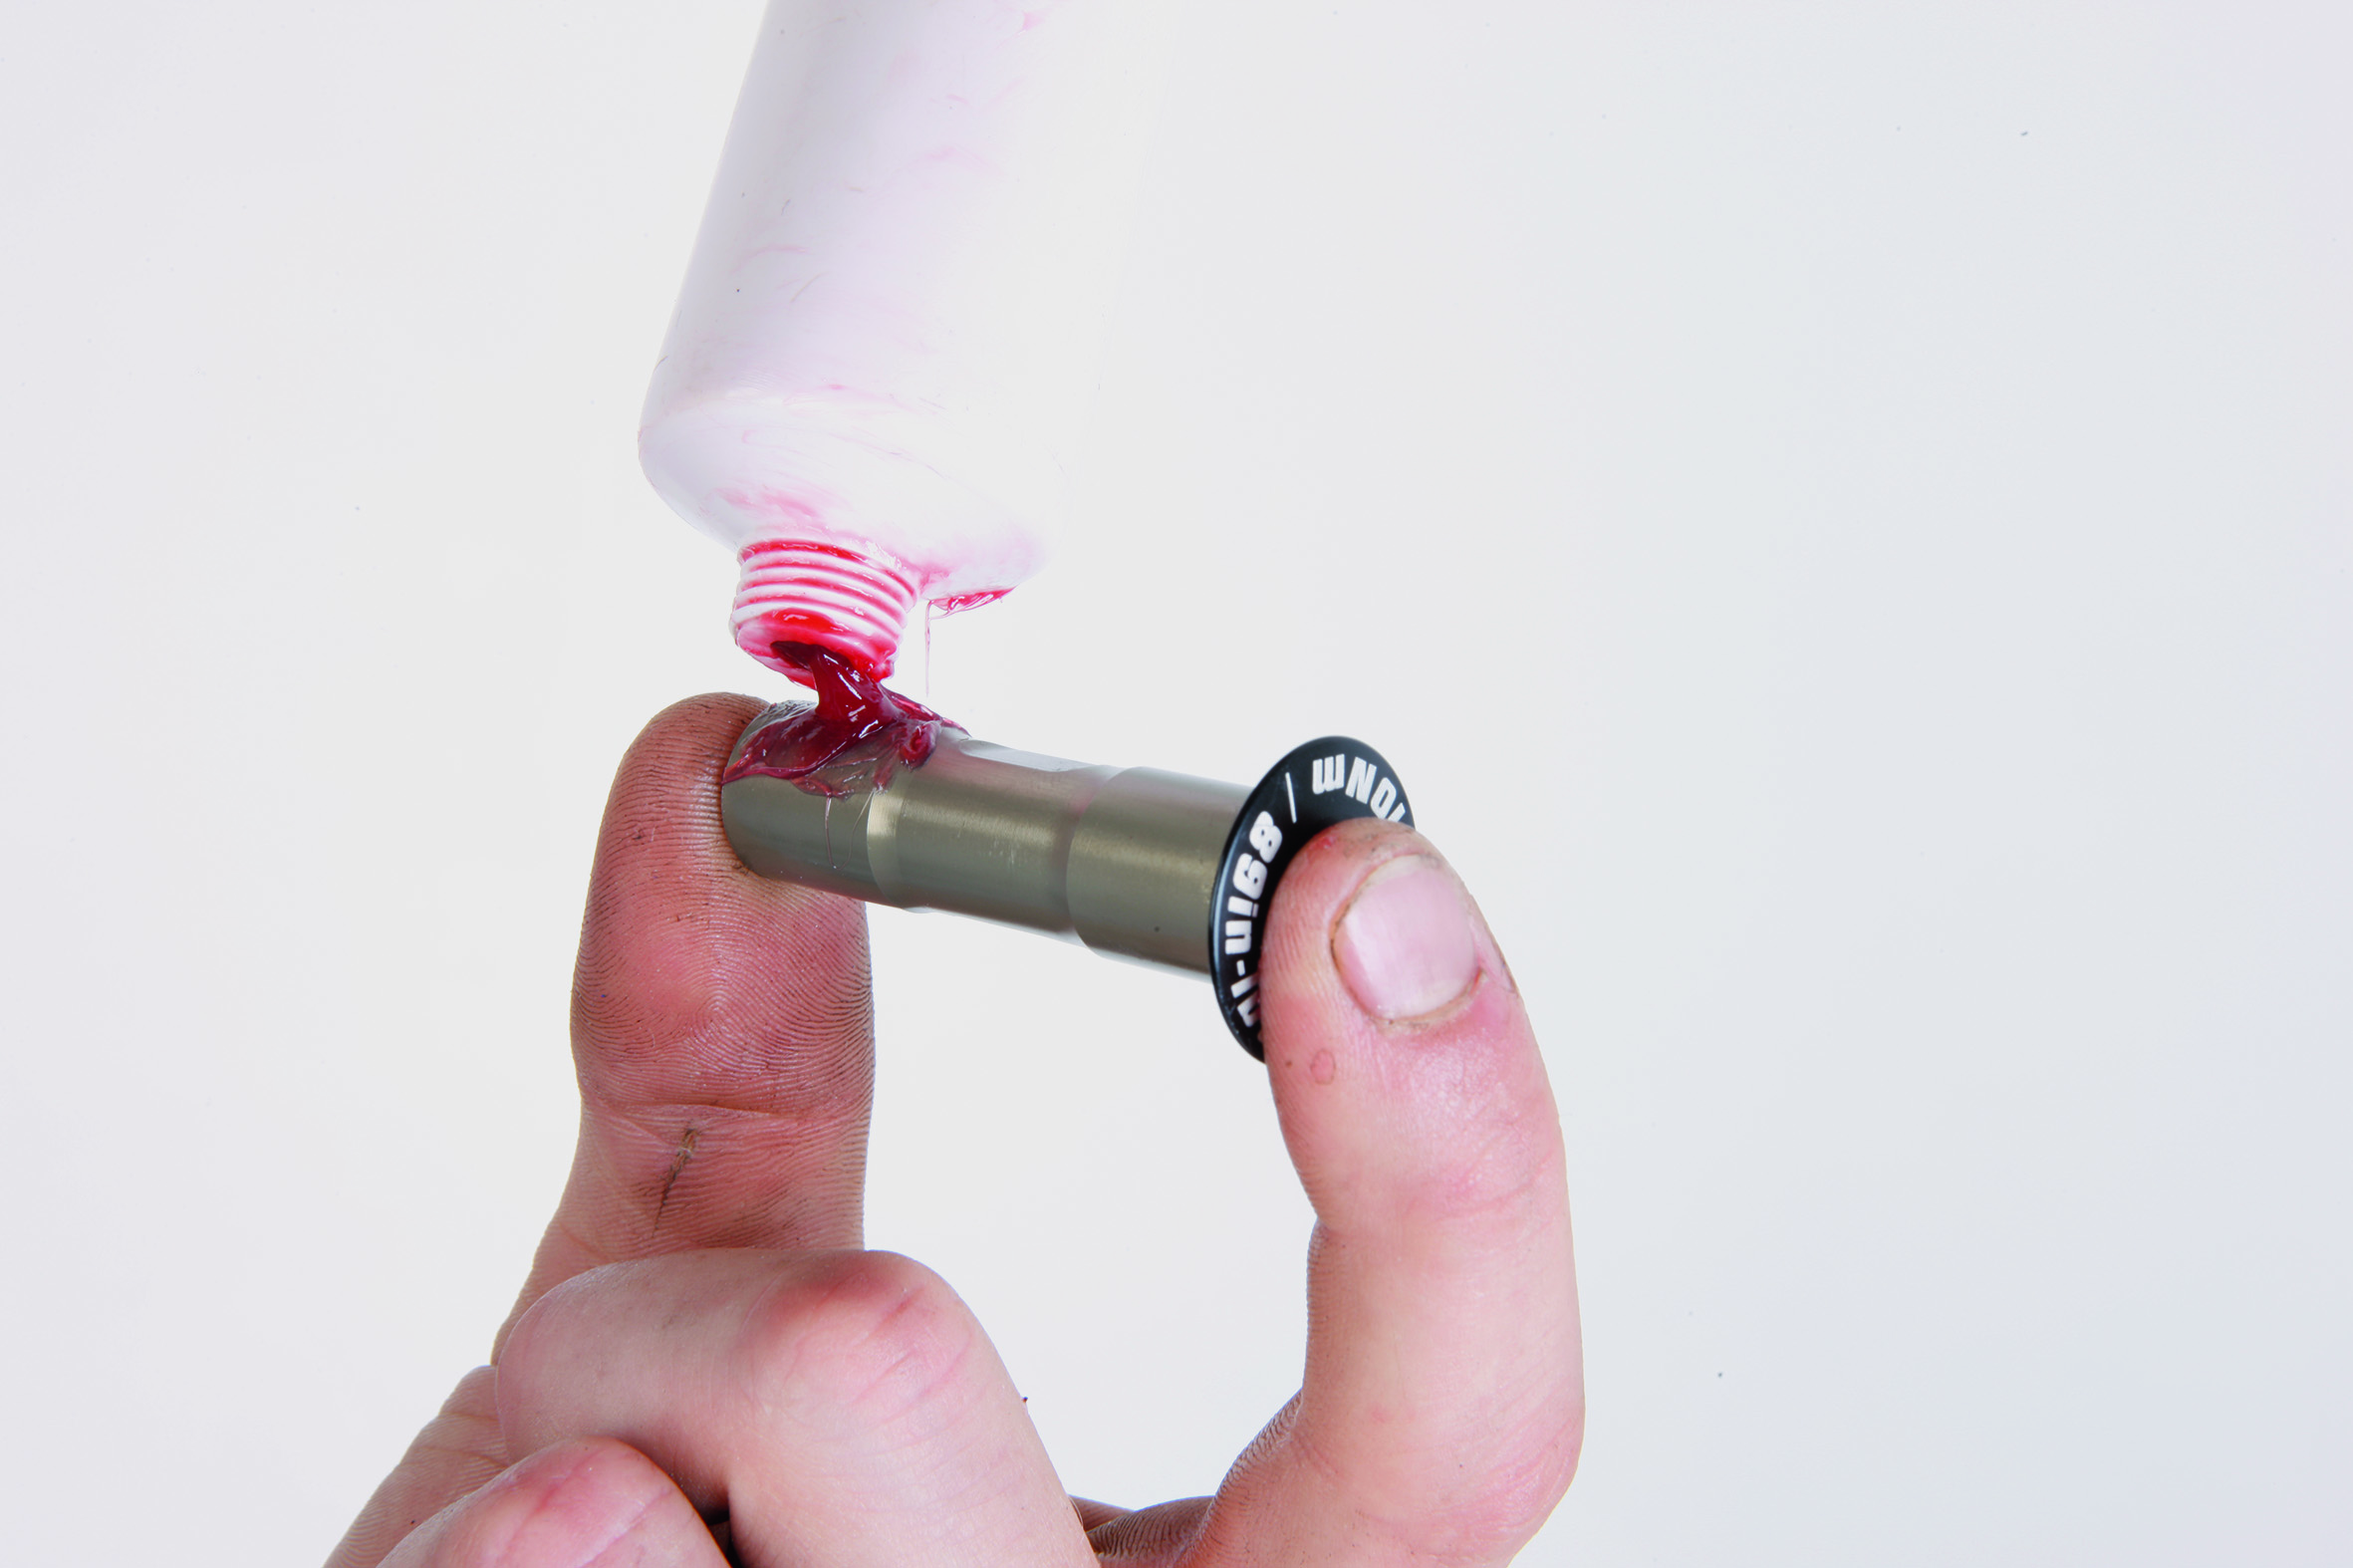
8. Shaft greasing
Grease large axles on the shaft only, ensuring there is none on the threads.
Tip: If your frame has spacers between bearings and frame surfaces, and they keep slipping out during the rebuild process; use a small amount of grease to ‘stick’ them to the bearing to hold in place.
9. Carefully grease small bolts
Grease small bolts only on the area in contact with the bearing, ensuring there is none on threads.

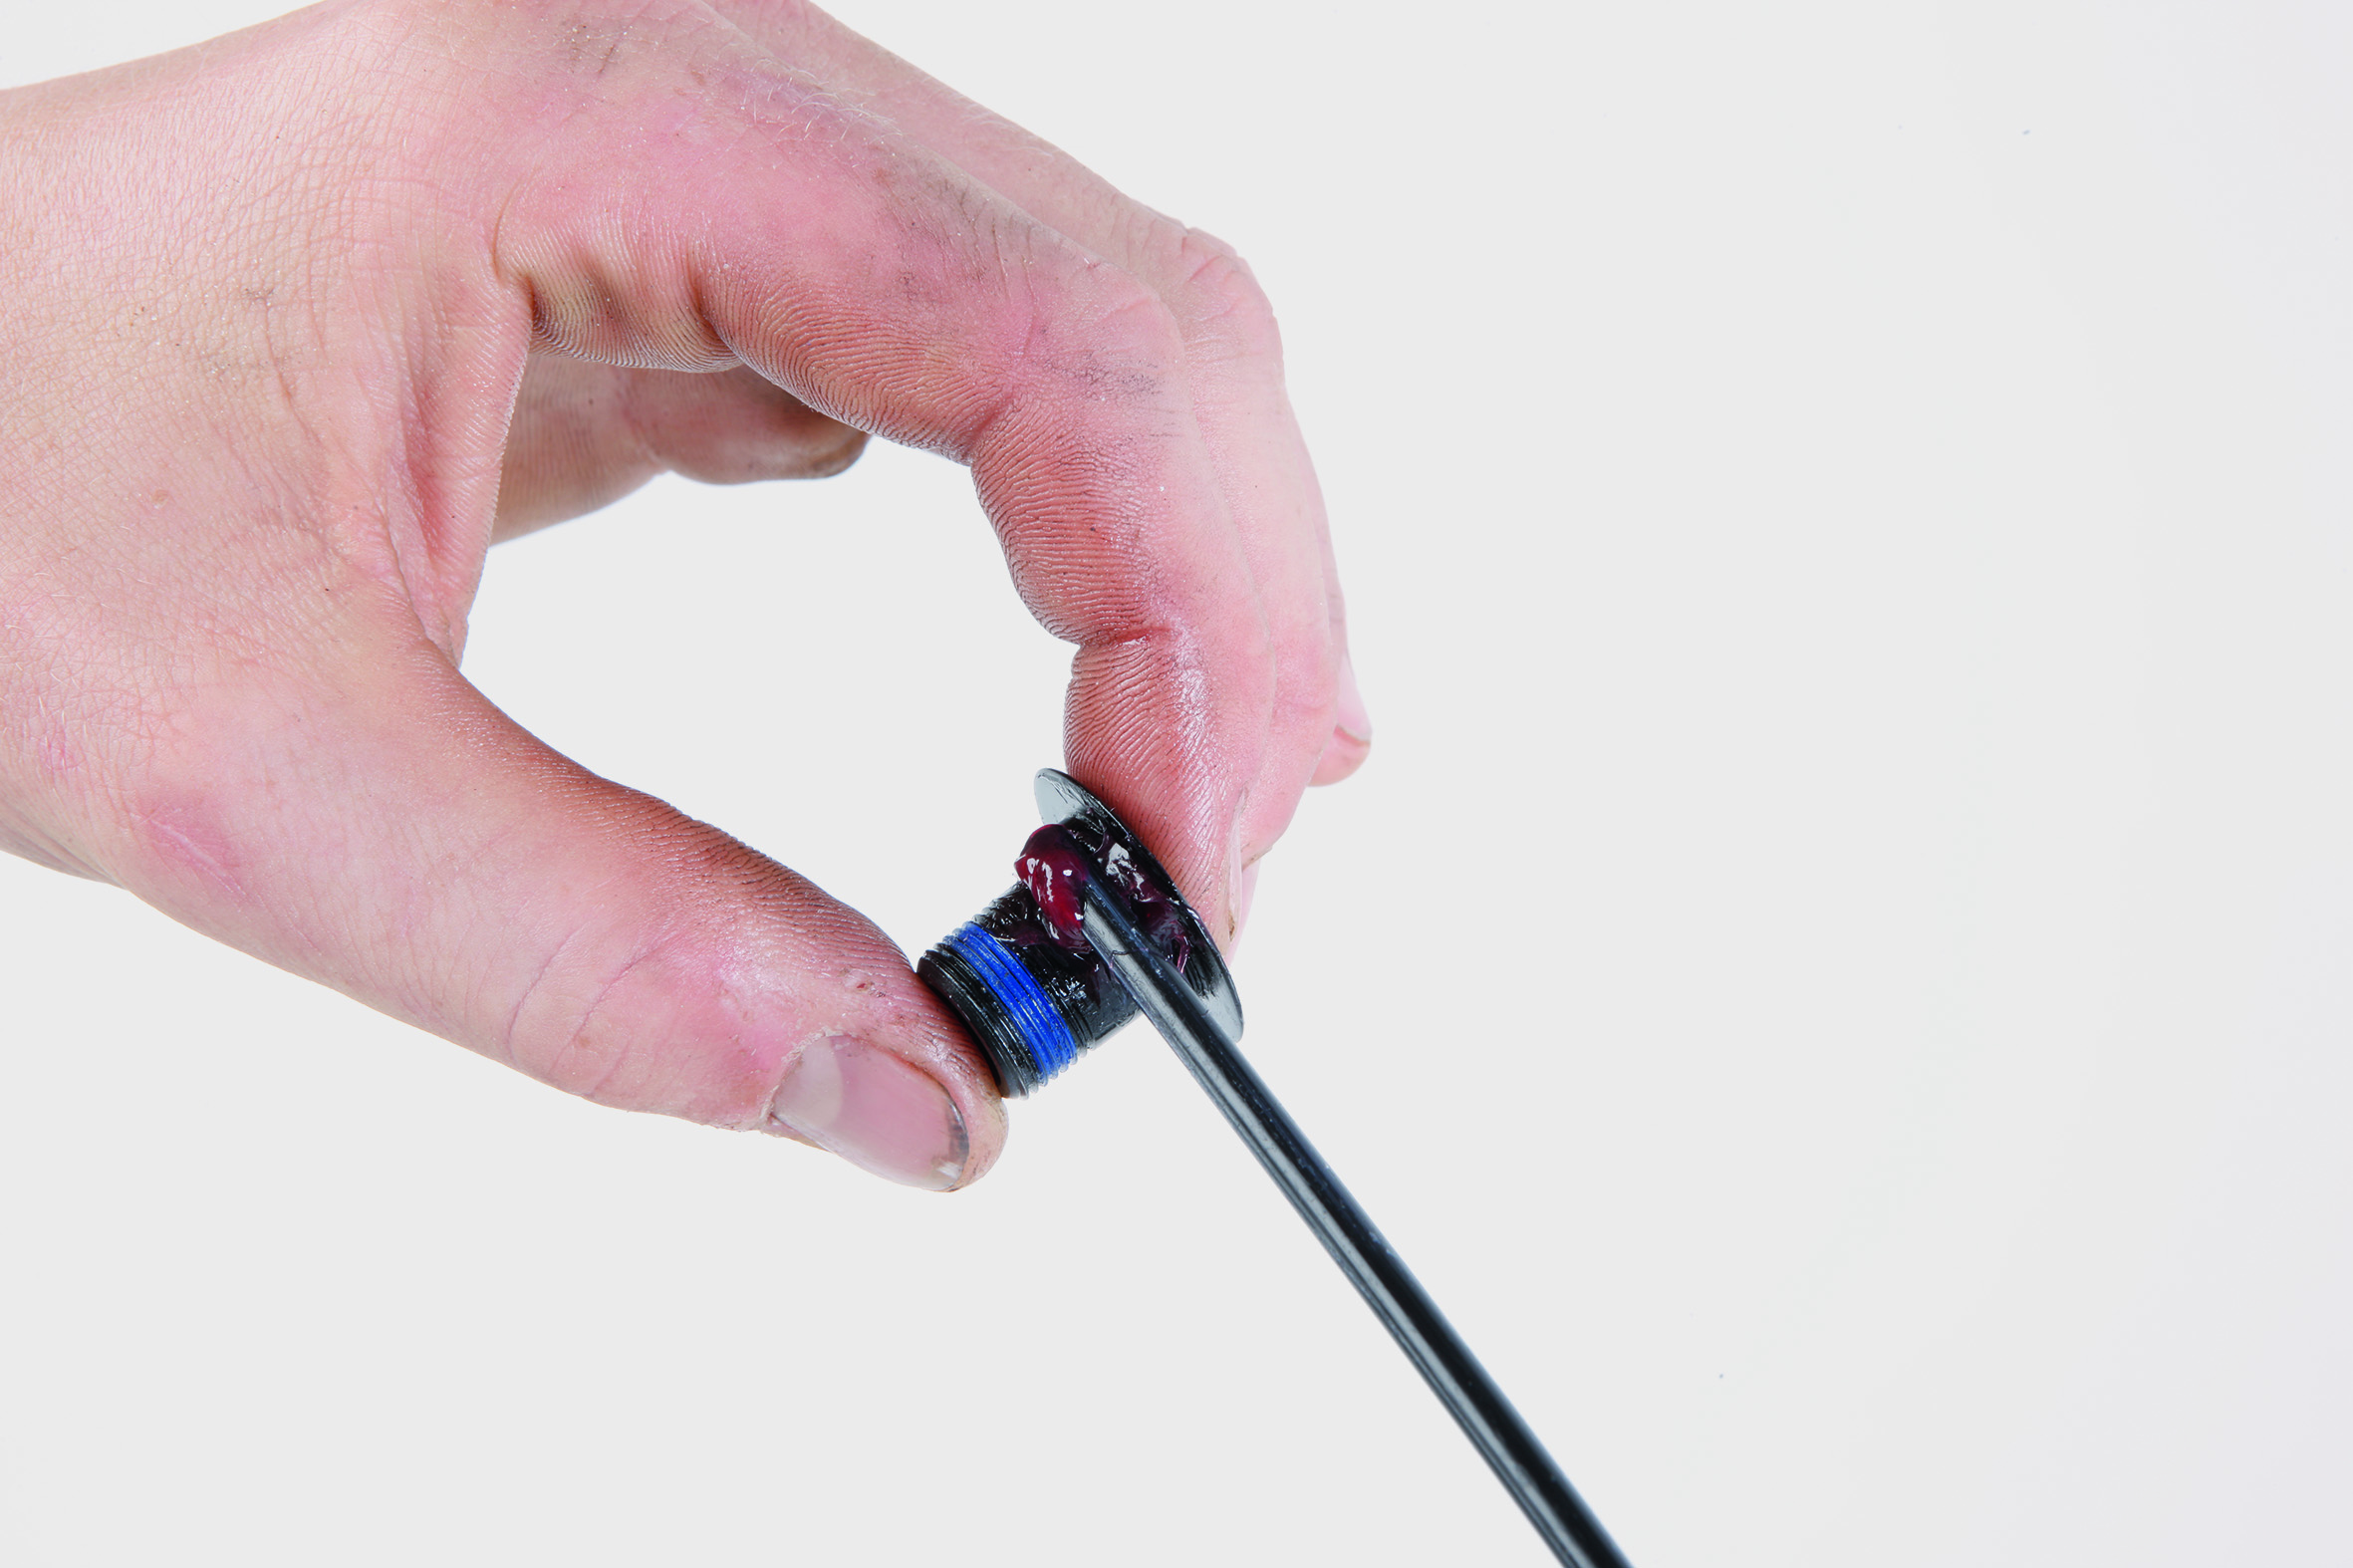
10. Thread-lock
Apply a small amount of blue thread-lock to axle threads, ensuring there is no grease present or this won’t work properly.

11. Tighten things up properly
Refit all frame parts and hand-tighten all the bolts and axles. Once in place, torque to the correct specifications using a torque wrench and wipe away any excess grease or thread lock.
12. Check it all moves freely
Cycle the swingarm up and down to ensure all parts have been fitted correctly and there is no fouling or rubbing. Refit all the components removed during step 1.